15
Jan, 15Hello 2015!
Where does the time go?! I mean, seriously? Last year was busy, really really busy. I didn’t get to do half of what I had set out to do, so 2015 is the year to revisit my list of goals. And with a vengeance!
I’ve never tried a New Years Resolution, because I honestly don’t think that I’d stick to it. I personally do better with small, attainable goals, with an end in sight (and a reward never hurts). So, I keep my calendar close by to fill with my goals, track them and most importantly, check them off. I love the feeling of checking something off of my list, because that means that I’ve accomplished something. And that’s a reward in and of itself! Amiright?!
I prefer to write on a paper calendar because I love the way the ink flows across each page AND I get to actually put a big X next to each completed goal. *sigh* Last year I found my 2014 spiral and desktop calendars at Target via Sugar•Paper Los Angeles. I instantly fell in love with the look, feel and function of these beauties. So, last November I set out on the hunt for a 2015 set. To my surprise, Target had them in stock, again. Yay!!! It really is the little things that I look forward to each and every day. The spiral calendar that I like is 8 1/2 x 11 in., so I carry it in my Nixon bag, which I also loooooove very much! Basically, it’s a mini system that works perfectly in my life. I can never find the calendars that I like on the Sugar•Paper website, but they do have some other really nice items on there. High quality stuff. But check your local Target to see if they’re in stock.
So, I’m going to finish writing in the rest of my 2015 goals and hope that your year is off to a great start! Here’s to New beginnings!
01
Jul, 14I’m A Vendor!
Hey guys! If you’re gonna be in Denver, CO on Saturday July 12th, come on over to the Horseshoe Market on 46th+ Tennyson! I’ll be selling all new Roblin products that aren’t even on the site yet, how cool is that?! More info to come… get excited!
04
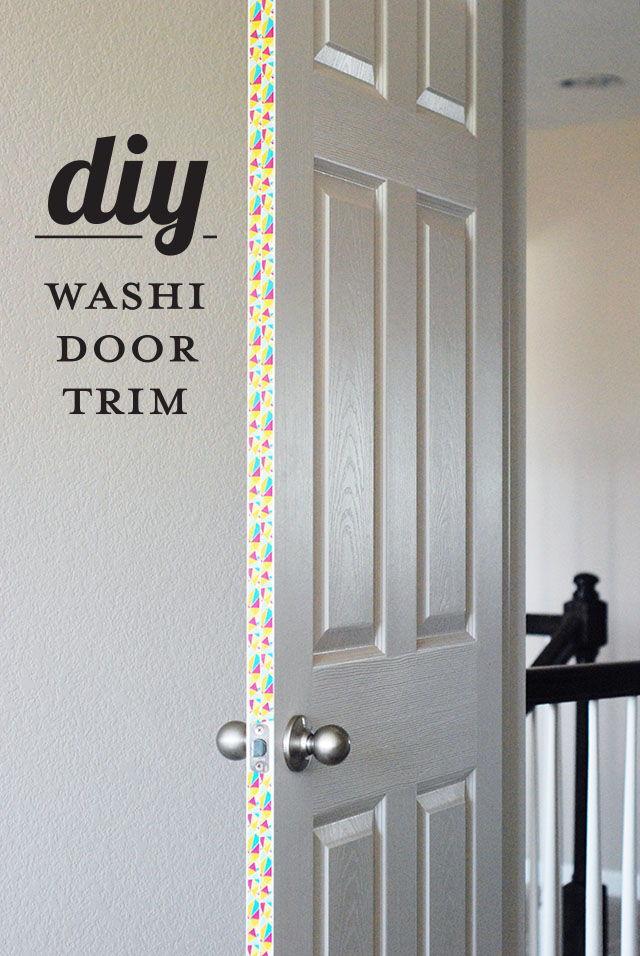
Jun, 14DIY | Washi Tape Door Trim
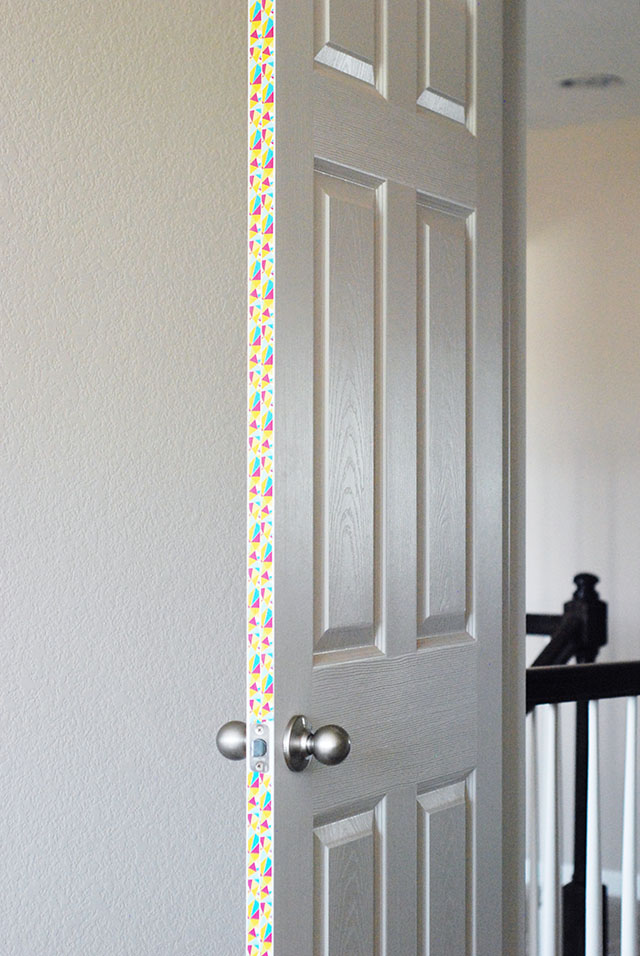
I’ve been unpacking and organizing while crafting and meeting deadlines. The other day, I took a break from printing Roblins to spruce up my door trim with some fun washi tape. I’ve been wanting to paint the trim, but wasn’t able to settle on a color yet. I thought washi tape would be the perfect temporary solution until I found the right color. But, now after seeing the finished result, I think that I’ll stick with the washi tape, because it offers so many more prints and patterns as well as the ability to change it in 5 minutes flat! And if you’re a renter – BONUS! This is a great way to add some (temporary) pizzaz to your space!
What you’ll need:
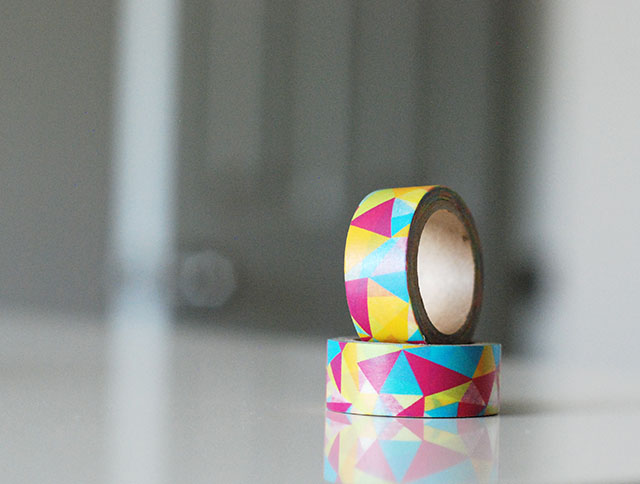
• Washi tape (I selected a 5 yd. roll for my 7 ft. door, and had some left over)
• A door
• Scissors (or you can just tear it) and an X-acto Knife (optional)
• Clear tape (to secure the ends and keep them from curling)
Seriously, that’s it!
Here’s what you’ll do:
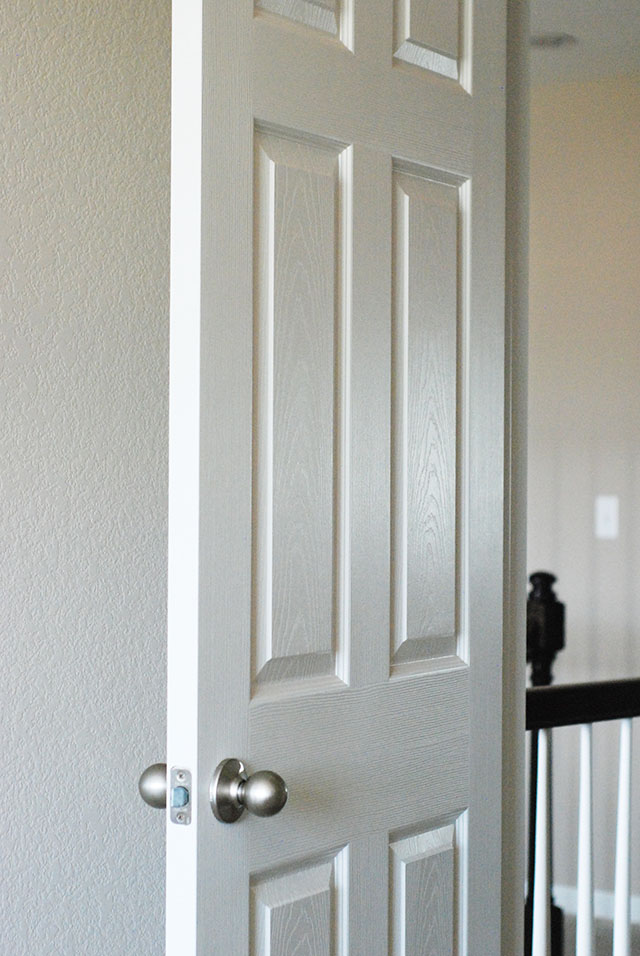
• Wipe down the door trim with a dry paper towel. I had to do this because since our house was just built, things are still a bit dusty. You’ll just want to make sure that the surface is clean for the tape to stick better. You can also use a spray duster like a multi-surface Pledge spray if you need to.
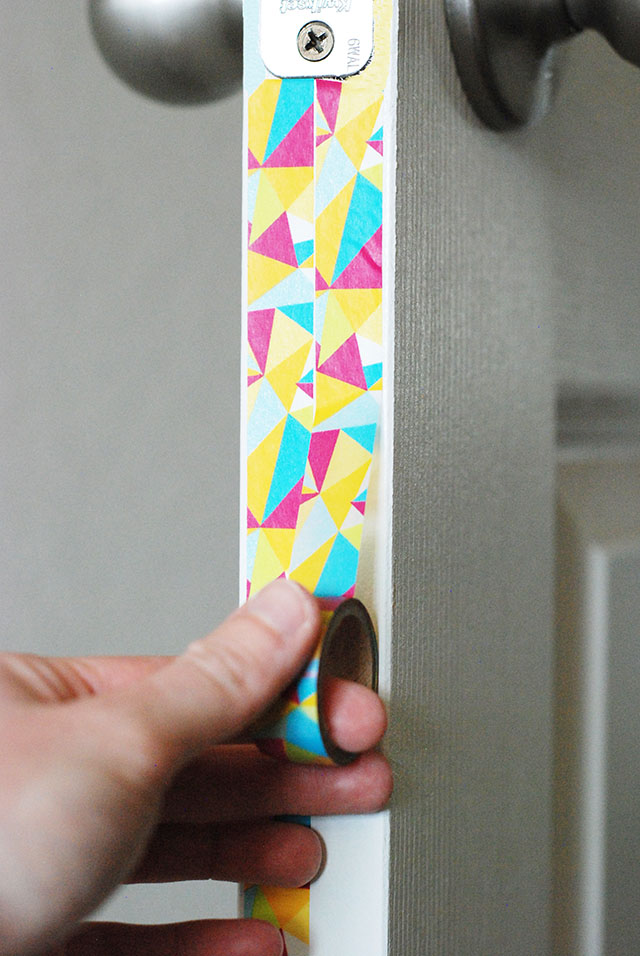
• Next, start from the top on the door and work your way down, making sure that there are no wrinkles in the tape. I chose a thin tape and then just did one strip down each side of the edge. They do make thicker washi tape, so browse around to see what fits your needs best.
• You may need an X-acto Knife to get a clean-cut around the latch.
• Once you’ve made it all the way down the door, use your scissors to cut a clean line at the bottom.
• Lastly, use a couple of small pieces of clear tape to keep the washi tape from curling at the top, bottom and near the latch, if needed.
Done and done! Happy taping.
19
May, 14What’s in my Nixon Bag?
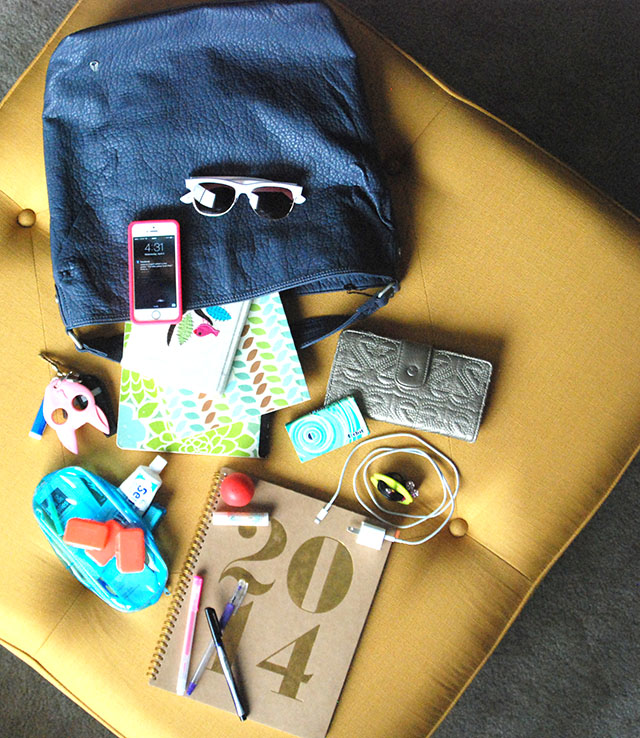
Happy Monday! Okay, so I love Nixon and their products. In fact, I just bought Ron The Corporal SS Watch for our 11 year anni, and he loves it. I recently started using my Nixon bag for my everyday carry-all, and I looove it! It’s deep and wide enough to carry all four of my sketchbooks, wallet, planner, and whatever else I can throw in there. I particularly love the soft texture of the bag and the single strap with a 3-snap closure. Plus, its super cute and the blue color goes with everything!
Here’s what currently lives in my bag:
• 2014 Planner (Target)
• 4 sketchbooks
• Pens: 1 Hot Pink Gel Pen by Poppin; 1 purple Sharipe; 1 purple Papermate
• Roxy wallet
• My handy braces care kit (toothbrush, toothpaste, floss, wax, rubber bands, etc.)
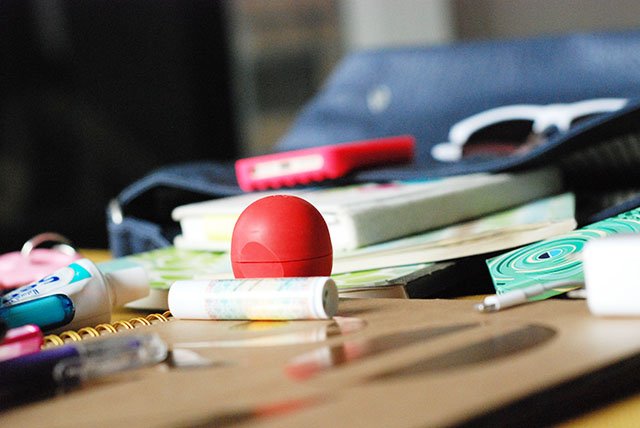
• EOS Lip Balm and my Emerging Thoughts lip balm
• Headphones and cord wrap (given to me by my BFF, Jessica!)
• Sunglasses
• iPhone + Charger
• Keys
• Gum
By the end of the week I may have a million and one other things in there, but for now, it’s staying very organized. Impressive.
02
Apr, 14As Seen on HGTV Canada!
Phew, yesterday was a great day for me. Not only was it my Great-Grandfather’s 101st Birthday, it was also the day that I found out that my DIY Marquee Letters were featured on HGTV Canada’s site! My husband asked me if I knew that I was #2 on HGTV Canada’s list of The 36 Ultimate DIY Projects on the Internet! I though it was an April Fool’s joke at first, but when he sent me the link, I was overcome with happiness! What an honor to be recognized and featured. Thank you HGTV for making me so happy!
There are 36 fun DIY Projects on that list, so be sure to check them all out. Also, if you want my step-by-step instructions on my DIY Marquee Letters, click here, and make your own! Thanks for stopping by – I will float off on my Cloud 9, now…
01
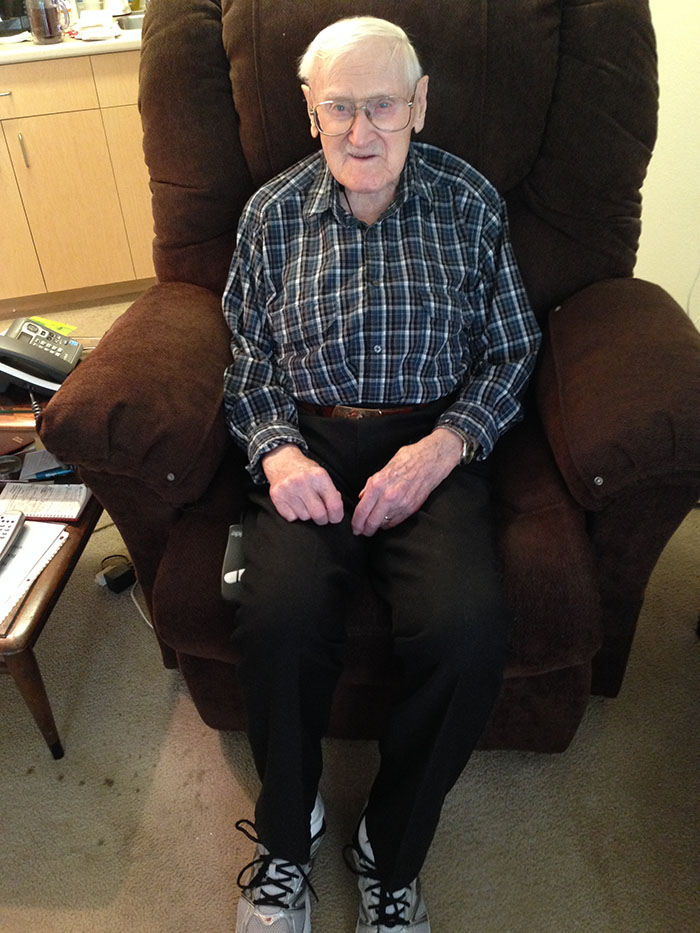
Apr, 14Happy 101st Birthday, Great-Grandpa Riley!!!
Today may be April Fool’s, but this is no joke. My amazing Great-grandpa, Riley, is 101 years old today!!! He’s definitely one of the most incredible people that I’ve ever known, and I’m proud to call him grandpa. He’s smart, strong, kind, warm, and loving. I truly admire him and hope to be as great as he is one day. His smile, laugh and love are genuine and you feel it as soon as you see him. Happy 101st Birthday, Grandpa!!!
Robert Riley moved from Thornton, CO to Paducah, KY in 2009 to be closer to his son and daughter-in-law. He’s been living in an independent living facility which provides a private apartment, meals, housekeeping, and activities. Fortunately, [my aunt Jan + uncle Bob] were able to hire people to help with his personal needs and washing clothes to avoid the nursing home thus far. My aunt and uncle also have a good home health provider to provide physical & occupational therapy, and professional nursing, as needed. My aunt Janice keeps him supplied with snacks, juice, Gatorade, and does his other personal shopping for him, so he’s surrounded by love and care. I also hear that he’s quite popular!
When I think of my grandpa Riley, I think of all that he’s seen and accomplished so far in his 101 years! He makes me want to be a better person and to strive to be the best that I can be with no excuses. In fact, I often think of him, particularly in times of self-doubt, and quickly snap out it. I think of how happy he’s always been and what a go-getter he’s been throughout his whole life. He truthfully has to be the most physically active person that I’ve ever known. He inspires me to keep my mind, spirit and body active and healthy. I know that I can speak for my whole family when I say that we have such good memories of him and all that he’s done. Honestly, my youngest brother, Michael, summed it up best in a school report that he did about 6 years ago, when he was about 14 or 15:
“Air Corps
In March of 1942, my great-grandfather, Robert Wesley Riley, joined the Air Corps. Robert was supposed to go to Aircraft Engine School, but at the time, there were no openings. He had to wait five months to get into the school. During those five months, he had to take five exams, one every month. After the five months were up, the aircraft engine school let him in without a history of any college. This aircraft school was called Hendricks Field. It was in Sebring, Florida. Everyone in the school was either a mechanic or an engineer. My grandfather stayed at this school for three years. He became a flight engineer. What he did was test the planes to see if they were in flying conditions. For five to ten hours a day, he would test take-offs and landings. After his training at Hendricks Field, he went to Chanute Field in Illinois for one month. He worked on gyro instruments. Gyro instruments are engines that spin. Some examples of gyro instruments are automatic pilots and field indicators. After that, Robert went over seas for twelve months as a replacement. Later my grandfather was stationed in India to work on humidity and temperature control in a factory. He inspected the work of twenty-eight Indian workers who worked on assembly lines. He had to have two interpreters because the twenty-eight men didn’t speak English. He stayed there for one year after the Indian war was ended.
Jobs
Robert W. Riley had many odd jobs before and after the war. He worked for Arkansas and Louisiana Gas Company right out of high school. He was making nine cents an hour and got a ten-cent per hour promotion for digging ditches. Then he got into trucking companies. He drove trucks for a box factory in Pittsburg, Texas. They would cut down gum trees on the river bottoms and make would make boxes out of these trees. Then he moved on to hauling produce around. He would haul yams out of Texas to Denver, potatoes from Denver to Texas, then he would go down to South Texas to get watermelons and grapefruits to haul them to Denver. The watermelons made good sales. Before my grandfather went into the service, he laid pipeline. It was construction work, but my grandpa hauled and strung oil pipe all over. His boss knew that he was strong, so he took him off of driving trucks and moved him to working the sledgehammer. The unfortunate side of him being strong was that he had to break concrete in order to put in the pipes for ten hours a day with only a sledgehammer.
Fishing and Hunting
When my grandfather got older, he would go fishing every weekend, rain or shine, with his wife, Helen Riley. He would fish all over Colorado and many other places like Canada. When he went to Canada, he flew in at six in the morning and caught one hundred and forty pounds of fish. It didn’t get dark until midnight. The lake was called Otto Lake and the Indians helped them cook the fish that they caught. They would fillet the fish and quick dry them so he was able to take the fish home. He makes his own flies for fishing and uses different types of feathers. My grandfather also loves to hunt. He’s been hunting since 1952 and has been ever since. In the fifty-six years that he has been hunting, he has only missed one season. He has shot thirty-two elk, many birds, and a few moose.
Great Depression
The year he left home on his own was 1929. He left with what clothes he had on his back and the change in his pocket. ($1.25) Luckily for him, he worked in Texas and could get about any job, which was a plus except for the fact that he worked ten hours a day and only made one dollar. My grandfather was one of the lucky ones to get a job and live through the depression.
Childhood
My grandfather, Robert Wesley Riley, was born on April 1st, 1913. He was raised on a farm and took up farming until he graduated high school. On the farm they raised their own mules and used them to plow. He had eight brothers and sisters to help him with the farm work. He started school when he was seven years old. He walked to school everyday, which was 6 miles to and from school. He went to a consolidated school and only wore shoes when at school. He didn’t have much homework, but if you didn’t pay attention in class, the teacher would not re-teach the lesson. When he was ten years old, he was driving his model T around on the dirt roads.
Brittany Spaniels
My grandfather raised and showed Brittany Spaniels. He had two dogs of his own; their names were Mutt and Jeff. Their registered names for shows were Denver Skyline Rocket and Prince Jeffery of Rocket. They were registered with an AKC book. On November 7th, 1966, Jeff won a certificate for best in show. The dogs would also go out-of-state with my grandpa and help him in hunting birds. He trained Jeff and Mutt by taking pheasant wings and putting them on fishing rods and reeling them in and casting them, making the dogs chase the wings. He also had many training tactics. These dogs were also trained by whistle and were hunting at five months of age. They would stalk and also retrieve the birds.
Today (written 6 years ago)
Today my grandpa is ninety-five years old and lives on his own. He continues to hunt, fish, and walk three miles a day. When the weather is not it’s best outside, he jumps on the treadmill and does his walking there. He has so much spirit, which keeps him going everyday. My grandpa Riley means a lot me. I love him and his great laugh so much.”
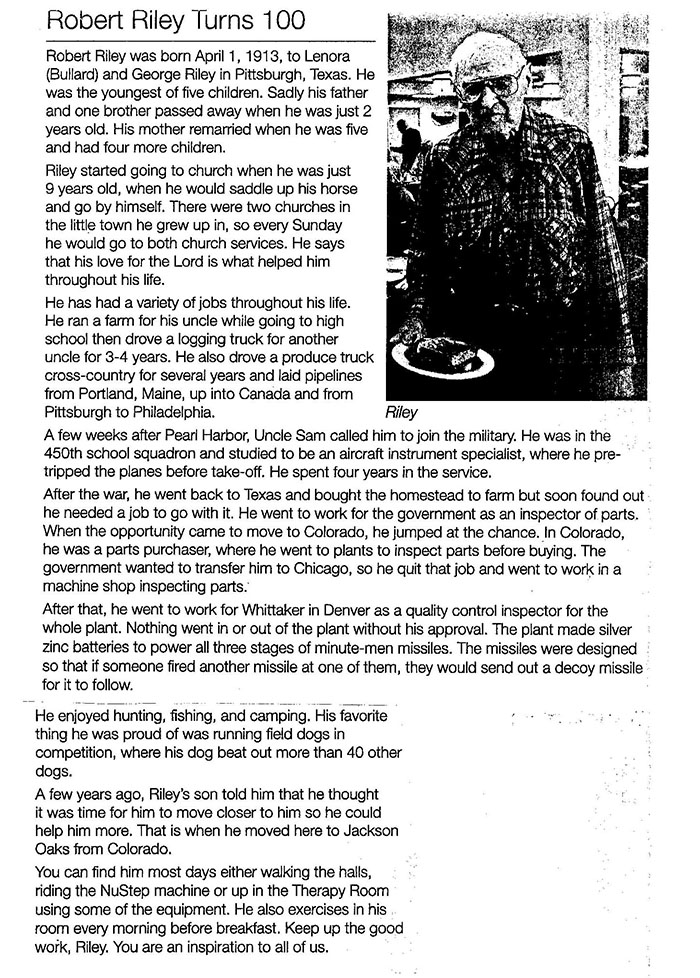
Below is an article in the Jackson Oaks Newsletter that was written for him last year to celebrate my grandpa’s 100th Birthday:
And this isn’t even half of what my grandpa has seen and accomplished! He’s living proof that living a good and healthy lifestyle goes a long way. I’m proud and blessed to have him as my grandpa! I love you so much grandpa Riley – we all do. Thank you for being true to yourself and for being such an amazing role model to us all. I wish we were there with you today. We all miss you very much and want you to know that we think about you. You’re an amazing man and we hope you have a wonderful 101st Birthday! We love you tremendously!!!
I want to thank my Uncle Bob for providing me with the latest photo and details on my Grandpa. I also want to thank my brother, Michael, for letting me share his piece on my grandpa’s life. And Thank you to Jackson Oaks for writing such a beautiful piece on him. So much love!
HAPPY BIRTHDAY, GRANDPA! WE LOVE YOU!
21
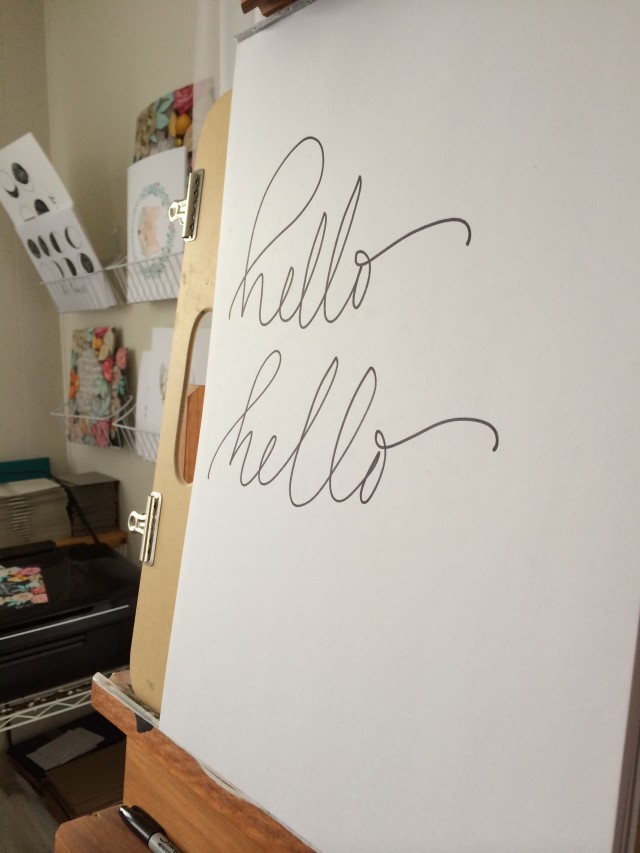
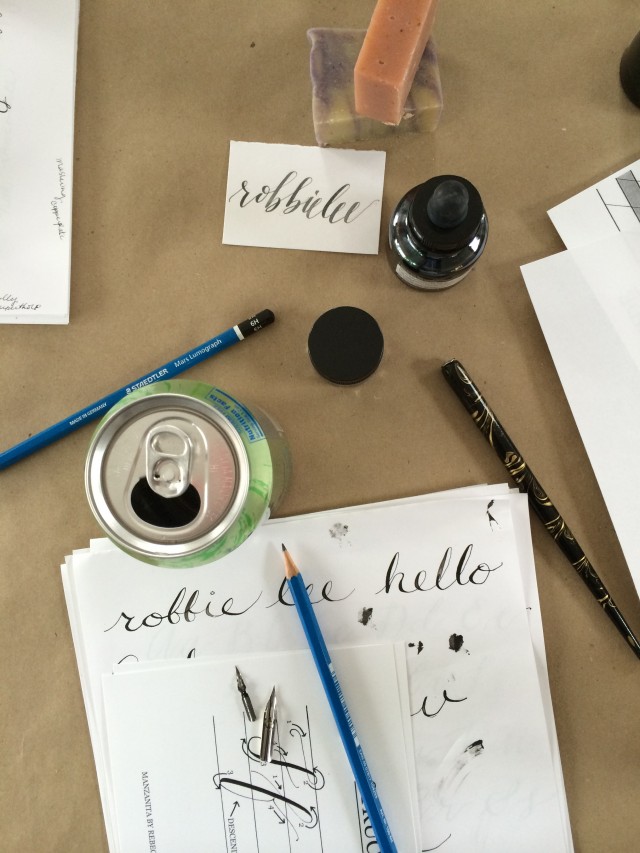
Mar, 14Manzanita Calligraphy Workshop #1
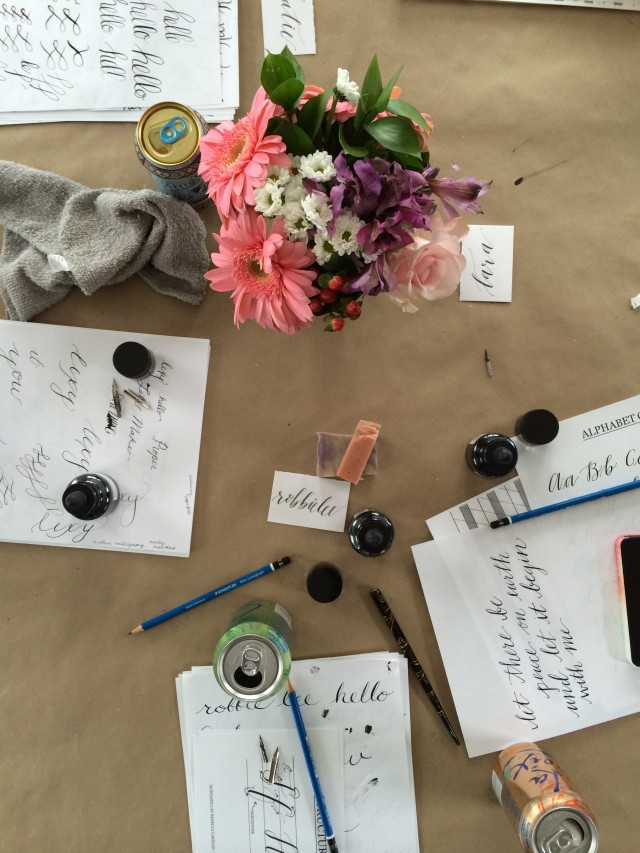
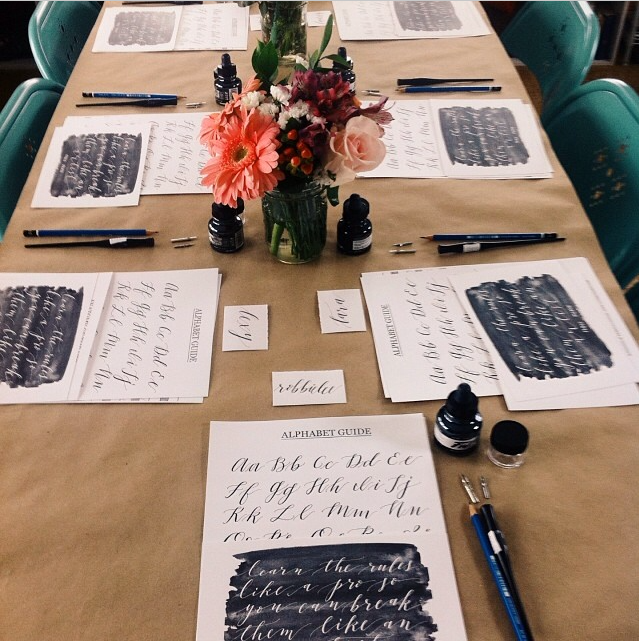
This past Saturday I was a student in Rebecca Caridad’s very first Calligraphy Workshop in Boulder, CO. There were only 7 of us and we had a fun time learning the basics of Calligraphy. I’ve only practiced once since the class, due to my studio currently being re-done. Once I get it all in order, I plan to put my pen to paper and really get to know my style of writing. That’s the beauty of it – just because you learn something, doesn’t mean that you can’t bend, or even break, the rules. I’m pretty good at breaking rules… so, stay tuned for that. Until then, check out a few snapshots that Rebecca’s younger sister took of our workshop here.
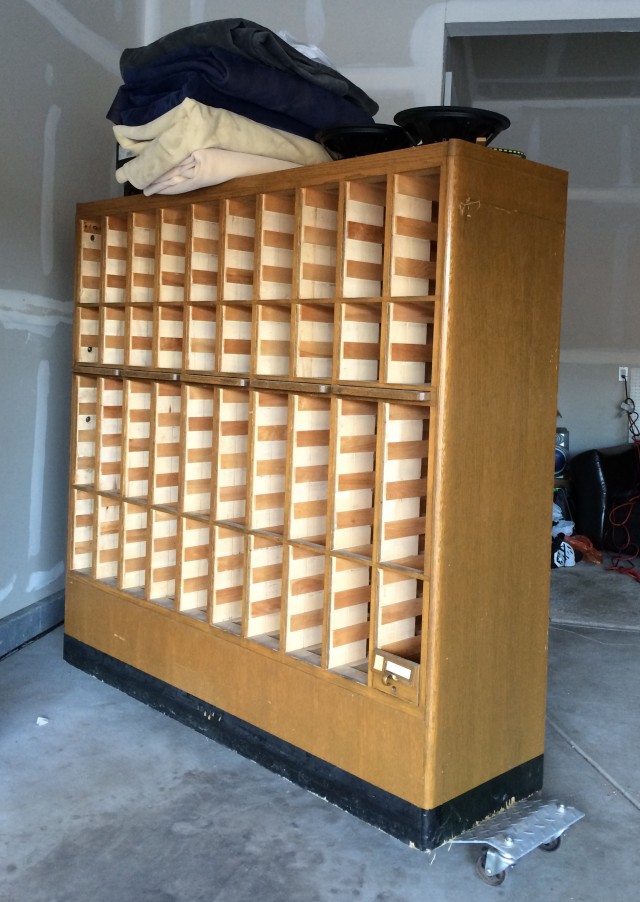
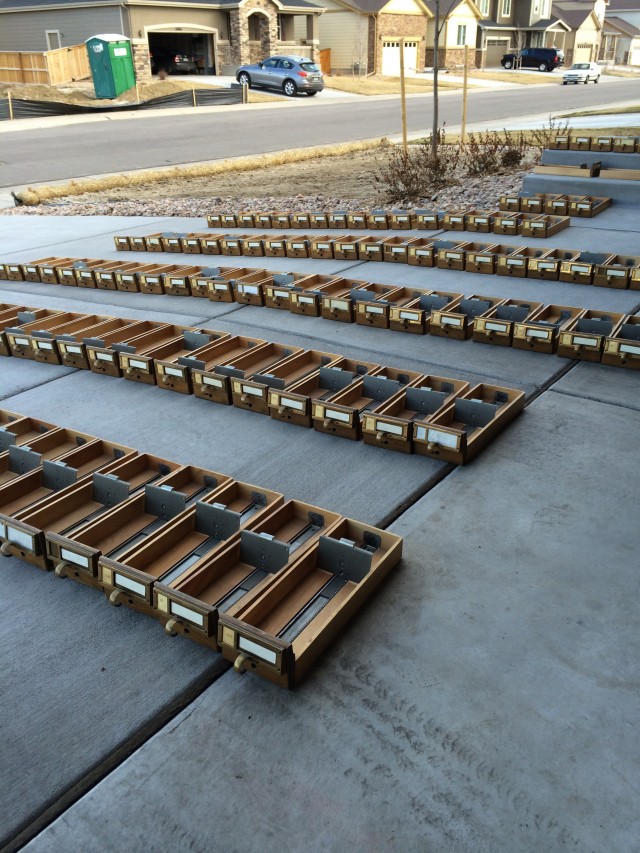
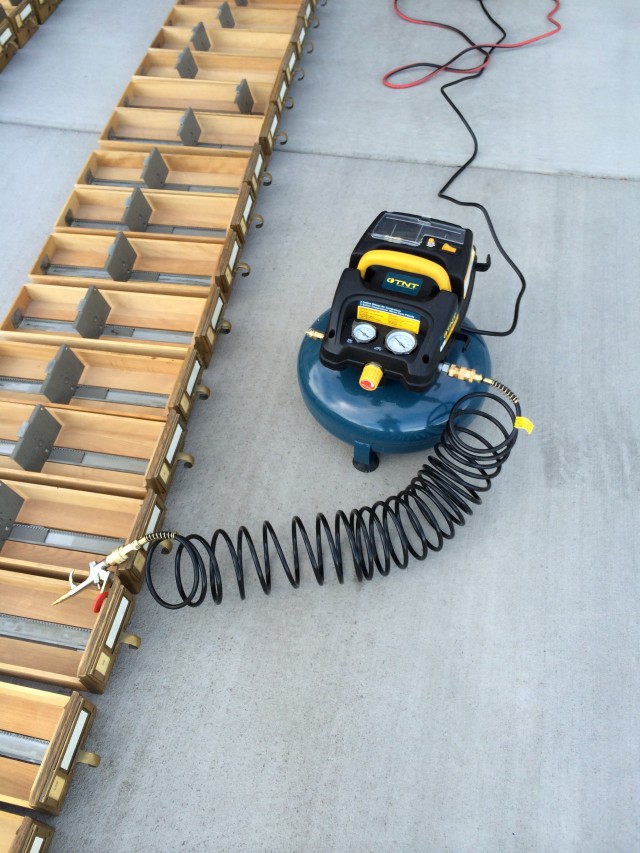
I’ve put a hold on making anything this week, so that I can focus on getting my new studio all sorted out. I really have to have a clean, bright and inspiring place to create. Otherwise, I find it difficult to stay focused. Anyone else have this problem? Anyhoo, the most challenging part of the studio will be getting my 120-drawer Library Catalog, that my dad gave me, out of the garage and up the staircase. I dusted and cleaned it really well, so it’s ready to be moved in. Wish me luck!
04
Mar, 14DIY | Marquee Letters
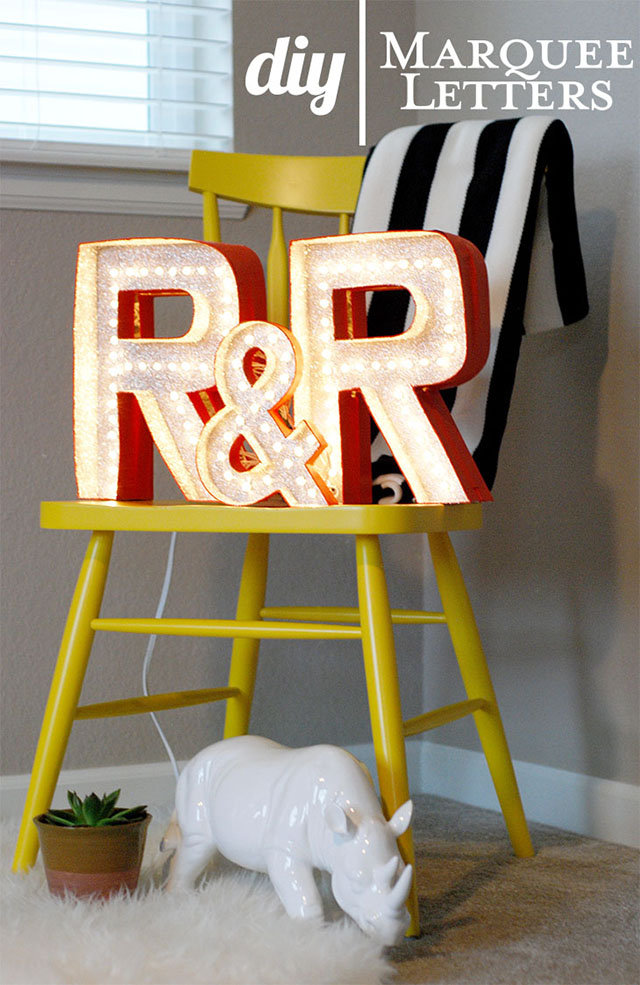
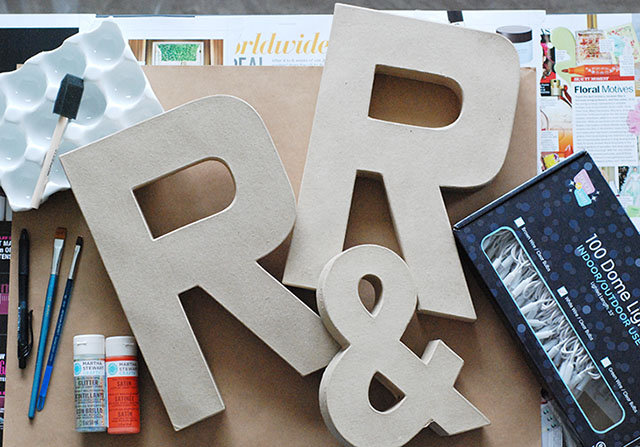
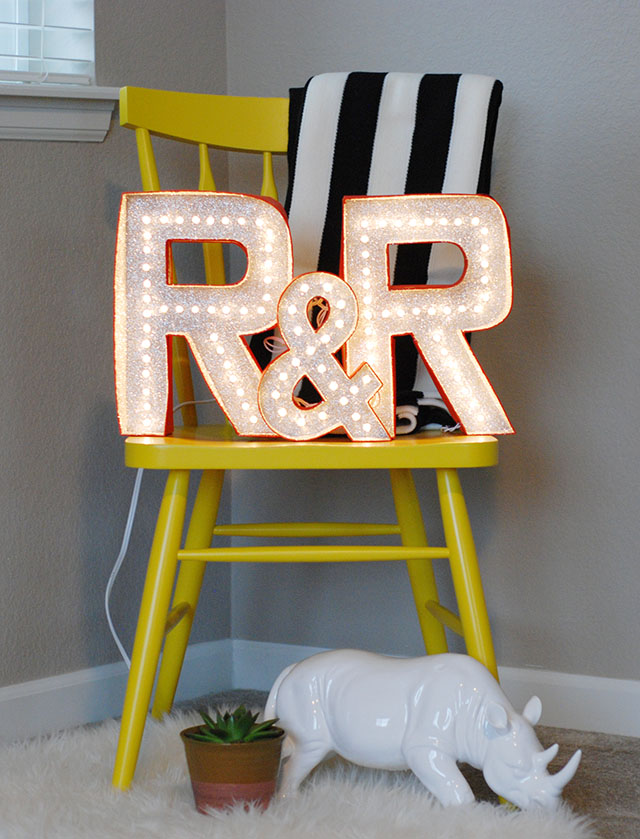
So, I’ve been browsing the Internet (and when I say ‘Internet” I really mean Pinterest – I mean, let’s be honest; what else is the Internet for these days, other than to support Pinterest?) …I digress. As I was saying, I was looking around for a good (no, GREAT) Marquee Letter DIY. I actually found several nice ones, but none that were quite what I was looking for. So, I decided to create some with my own touch of special and a whole lotta glitter! Of course I wanted to share how I made them, so here you go:
You’ll Need:
• Paper Mache Letters (they come in various sizes and can be found at JoAnn’s and Hobby Lobby)
• Acrylic Paint (I chose Martha Stewart’s Satin paint in Geranium for the burnt orange and then used white and black to make the grey)
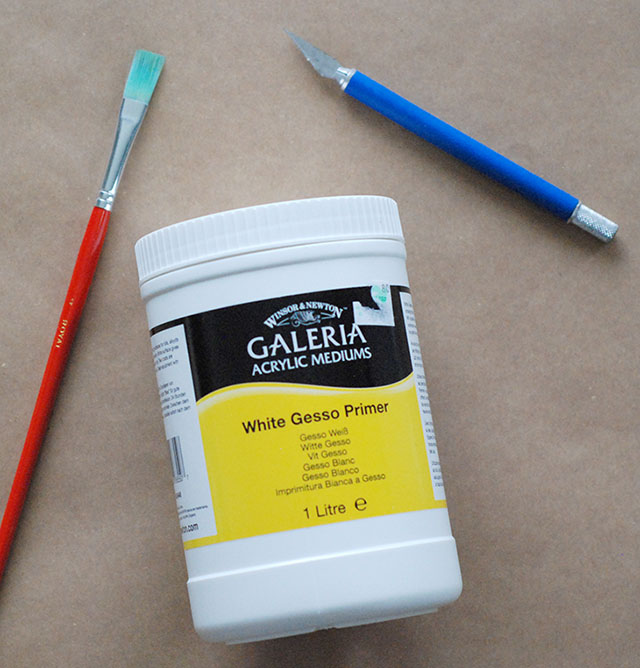
• Gesso (Canvas Primer)
• GLITTER + Mod-Podge (at first I chose Martha Stewart’s Acrylic Glitter paint in Antique, but wasn’t impressed with the overall effect, so I turned to good old-fashioned Mod-Podge and Glitter – why mess with a good thing, right?)
• X-acto Knife
• E6000 glue or hot glue gun or tape
• Paint Brushes/Sponges
• Pencil
• Ruler or tape measure
• String of lights
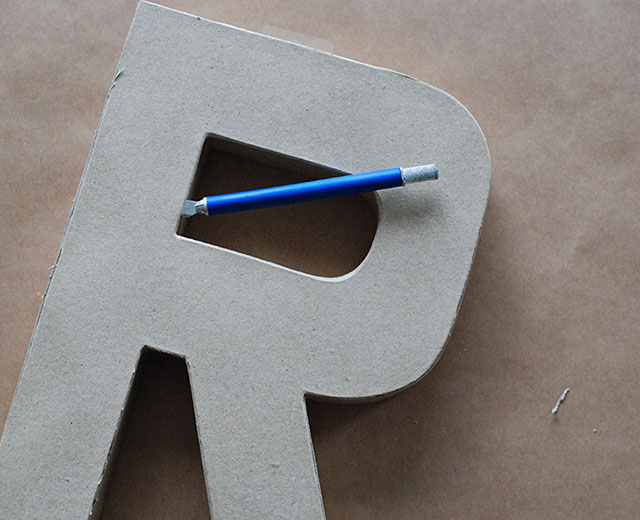
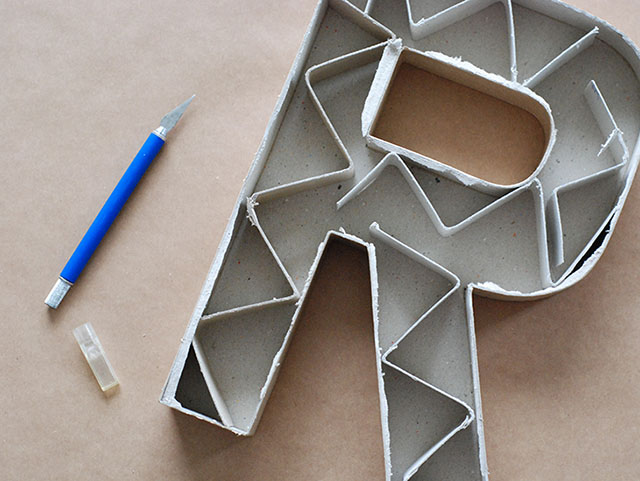
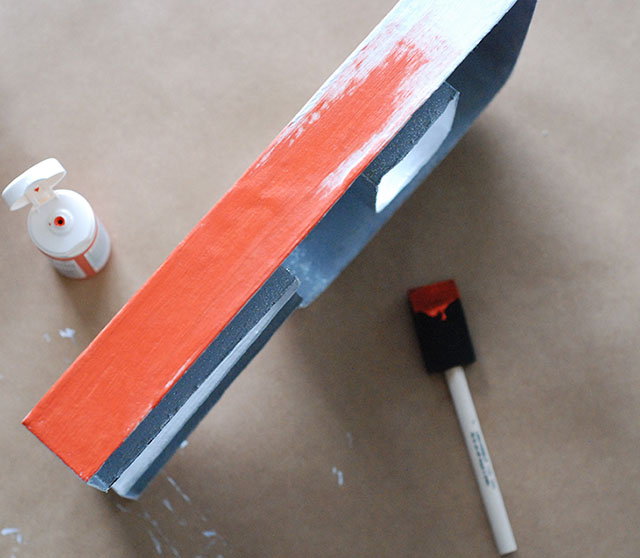
1. First, use the X-acto knife to carefully cut the front off of each paper maché letter; remove and recycle the “guts” and the top piece. Then clean up the edges with the X-acto knife.
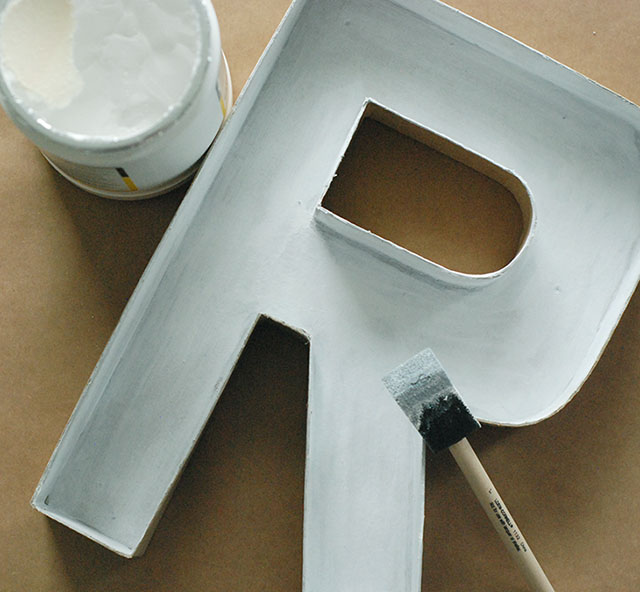
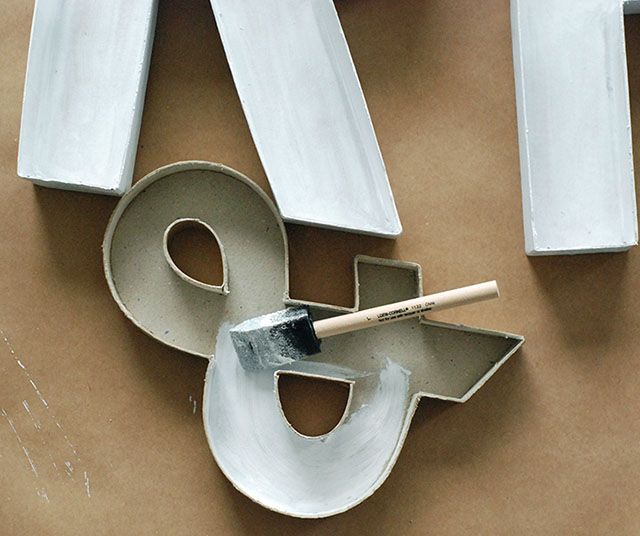
2. Next, use the sponge to paint one coat of Gesso on the inside and outside edges of each letter and let dry. I didn’t paint the back, but you’re more than welcome to.
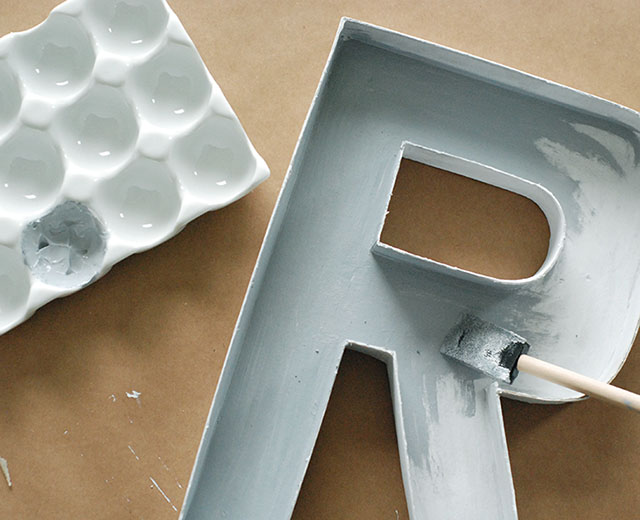
3. Once the Gesso is dry, mix up a light grey color using white acrylic paint with a small amount of black and use it to paint the inside of each letter. Once dry, follow-up with two coats of Martha Stewart’s Acrylic Glitter paint in Antique (allowing to dry between coats). NOTE: I wasn’t totally satisfied with the look of Martha Stewart’s Acrylic Glitter paint in Antique. Even with two solid coats, it didn’t give the super sparkly look that I was aiming for. So, I later went in and painted a coat of Mod-Podge and applied loose glitter. After I shook off the excess glitter, it was perfect!
4. Then I used the sponge to paint the outside edges in Martha Stewart’s Satin Paint in Geranium. One coat was more that enough and I didn’t paint the back.
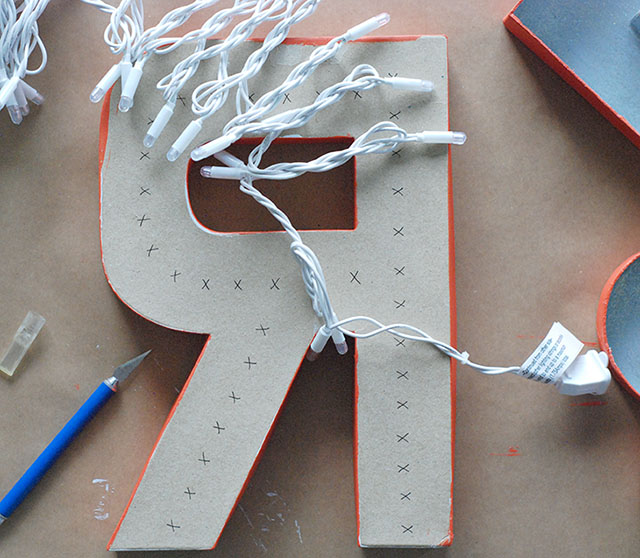
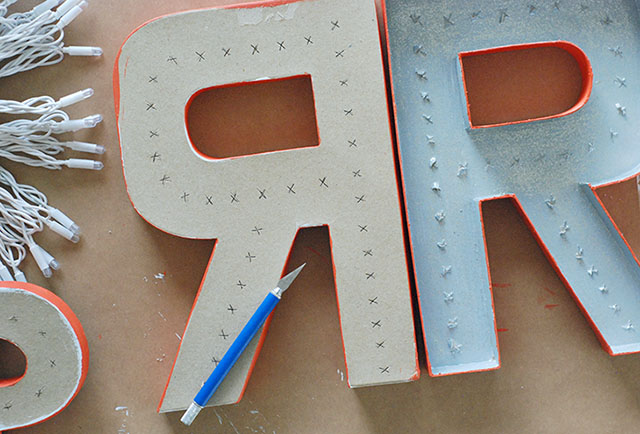
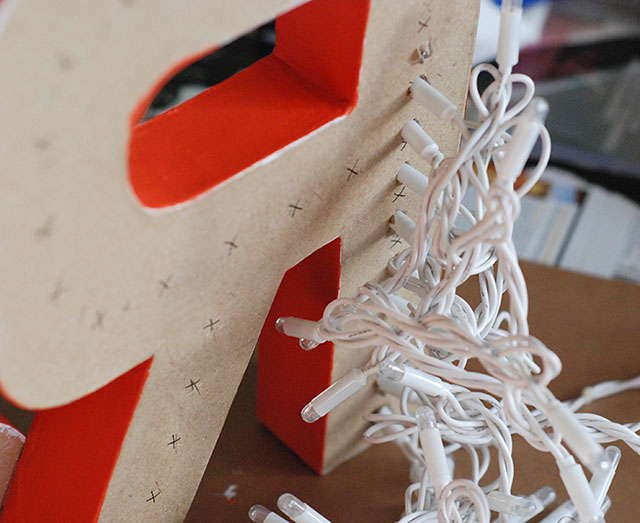
5. Measure and evenly space where each light will be inserted. Once you’ve marked each spot, use your X-acto knife to cut small “x’s” or a silent setter hole-punch to make each hole. Be careful not to make the holes too big, or the lights won’t stay in place. In fact, make each hole slightly smaller that the diameter of each light. This will insure a snug fit. NOTE: The saying measure twice and cut once applies here. I had to do this over because I got tired and tried rushing through it. The next morning everything was slightly off-center… grrrrr!
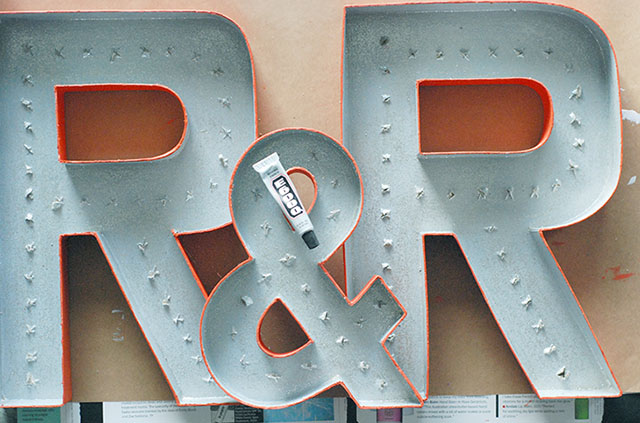
6. Be aware of where each light will go before you glue your letters together. You might have to insert the lights before gluing everything into place, depending on where they go. I placed the ampersand so that is rested on-top of both “R’s” to give some depth. You can secure the letters’ placement with E6000 glue or a hot glue gun. Both work great.
7. Lastly, insert your lights and again, make sure each one fits snug. You don’t want them slipping out. Since I messed up earlier and had to start over, I didn’t want to let the old “R’s” go to waste. So, I actually glued them onto the back of the good “R’s” to hide the protruding wires! Genius! They were already painted and good to go! You can also use some tape (and paint over the tape) to make it extra secure.
That’s it! The gesso, paint and Mod-Podge all dry pretty quickly, so it’s super easy. Let me know if you have questions. I can’t wait to see what you come up with!
I couldn’t help myself… I just had to share these cute photos of my babies! P.S. Brutus turned 9 years old and Tucker turned 5 years old last month. Frankie will be 6 years old this month!
22
Jan, 14DIY | Faux Pearl Earrings
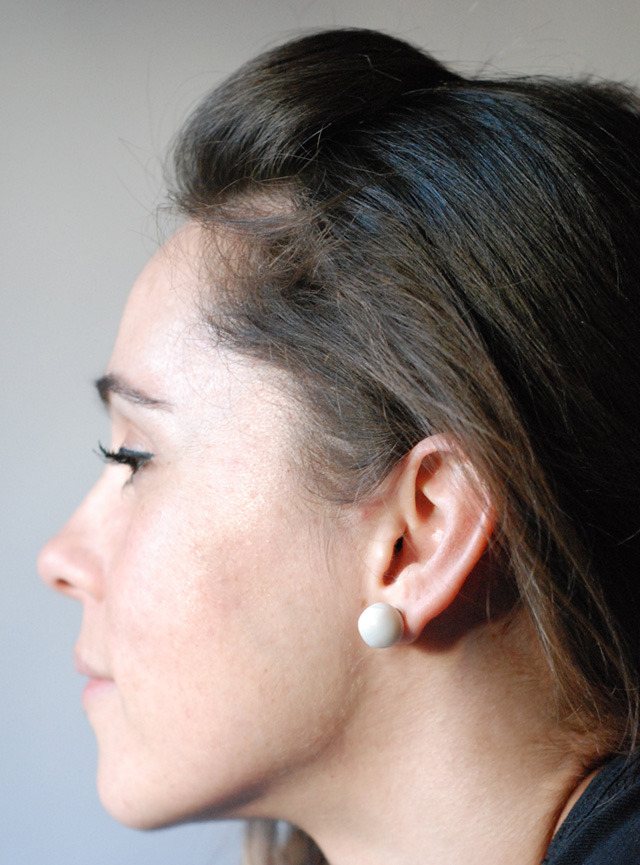
Valentine’s Days is almost here and what’s the one accessory that every girl needs in her arsenal for this special day?! Pearls. Pearls. Pearls! Pearl earrings to be more precise (…or Faux Pearl Earrings, rather). I do have beautiful (real) pearl earrings, and I love them so much. Lately I’ve been really into large and bold earrings. I couldn’t seem to find a large enough pair of pearl earrings anywhere, so I decided to make my own. Why not?! And when I say large, I mean Jane Jetson-style!
This DIY is suuuupppper easy; here’s what you’ll need:
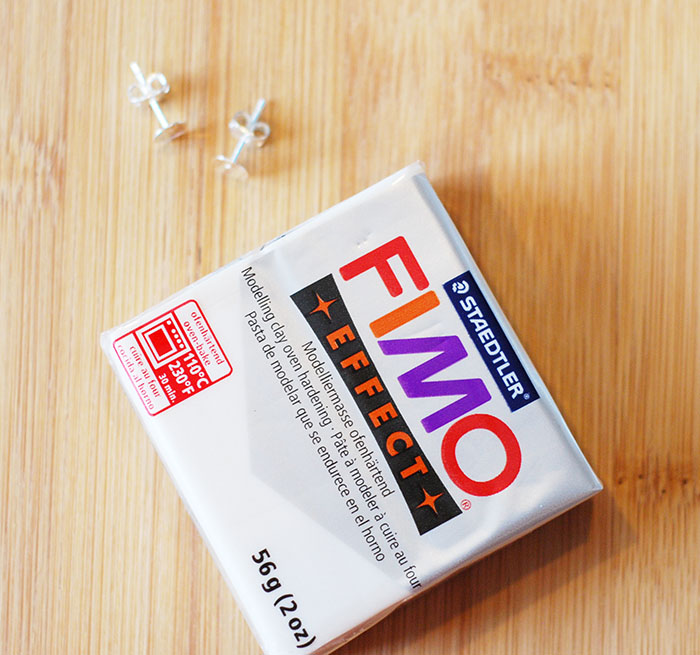
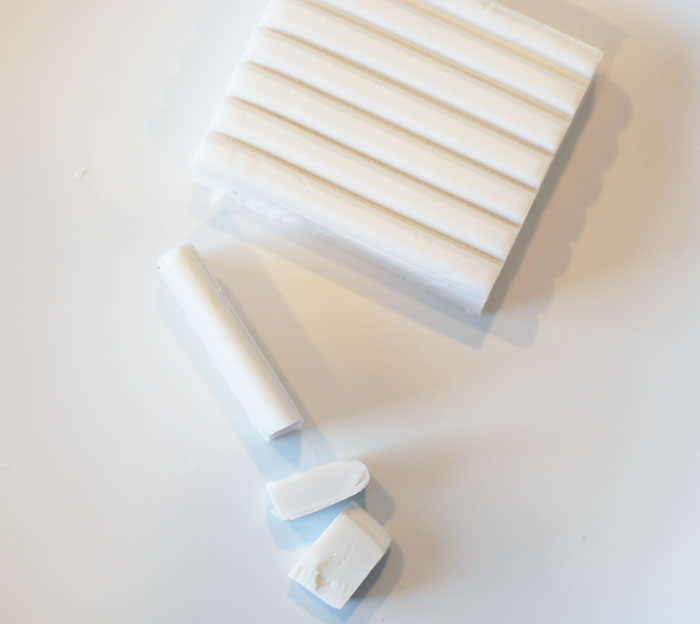
• Fimo Effect in Pearl #80 (it’s white with shimmer)
• X-acto knife or any thin knife
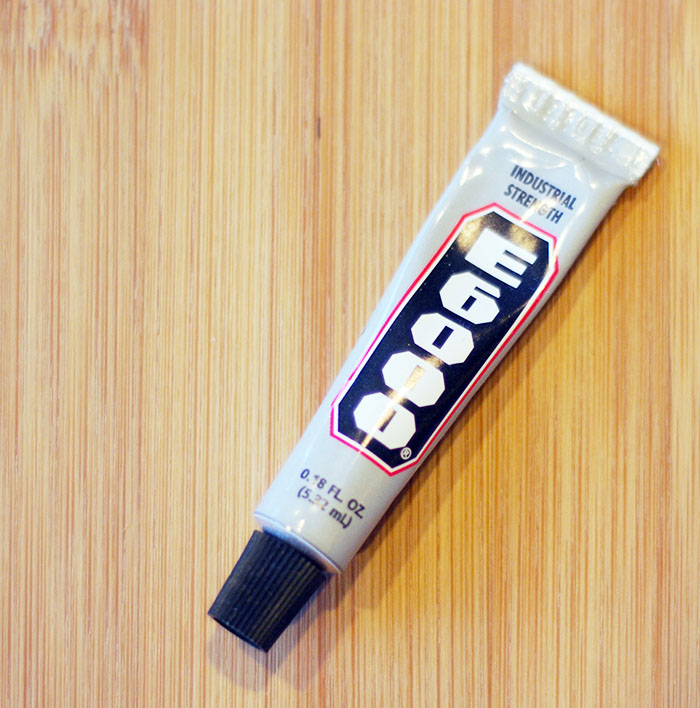
• E-6000 Glue
• Stud/post earrings with backs
• Parchment paper (optional)
• Baking dish
• Oven
The Deets:
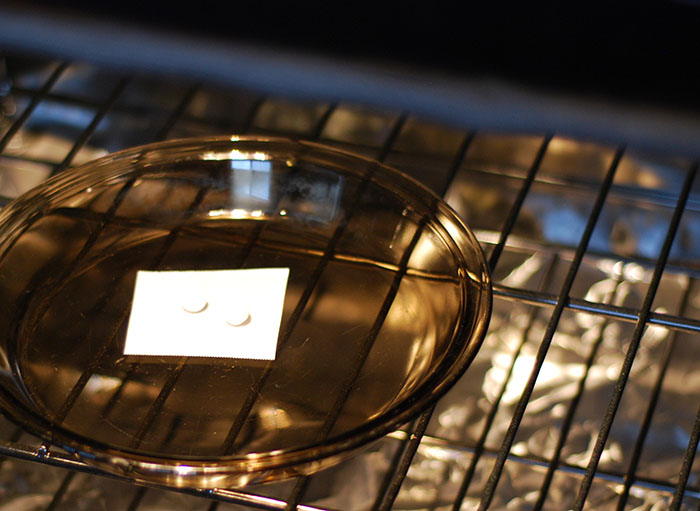
• Pre-heat your oven to 230 F/110 C.
• Place a small piece of parchment paper onto a baking dish and set aside.
• Cut off a strip of the Fimo from the block and cut off two smaller (equal sized) pieces from that. I cut mine at about 1/2 inch each, but you can cut yours to be smaller or (dare I say…) larger.
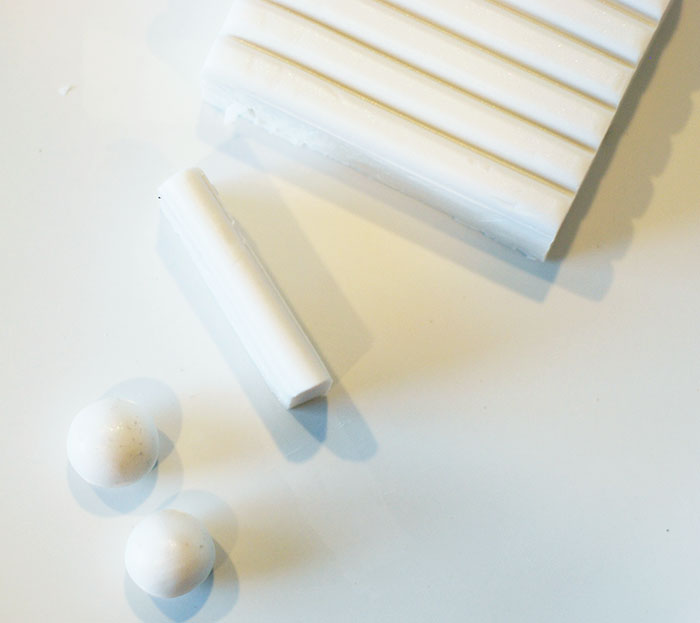
• Roll each piece in your clean hands until each makes a smooth and wrinkle-free ball. Note: be sure to wash and dry your hands well. Then, brush off any and all lint that may be left behind from the towel; the Pearl Fimo will catch and show it!
• Bake each piece for 30 minutes then let them cool completely.
• Next, apply a small dab of E-6000 glue to each stud and gently press a faux pearl onto each one. Allow to dry for at least an hour. I dried mine over night, just to be sure.
• Wear and enjoy!
I just love the way these look and feel. It’s difficult to show how the Fimo Effect in Pearl shimmers like a pearl, but it’s sooooo pretty! Also, I love how light-weight they are to wear. We’re talking feather-light. Oh, and did I mention that they’re muuuch less expensive than a real pair?! I’ve been wearing these all week, because I love them so much!
08
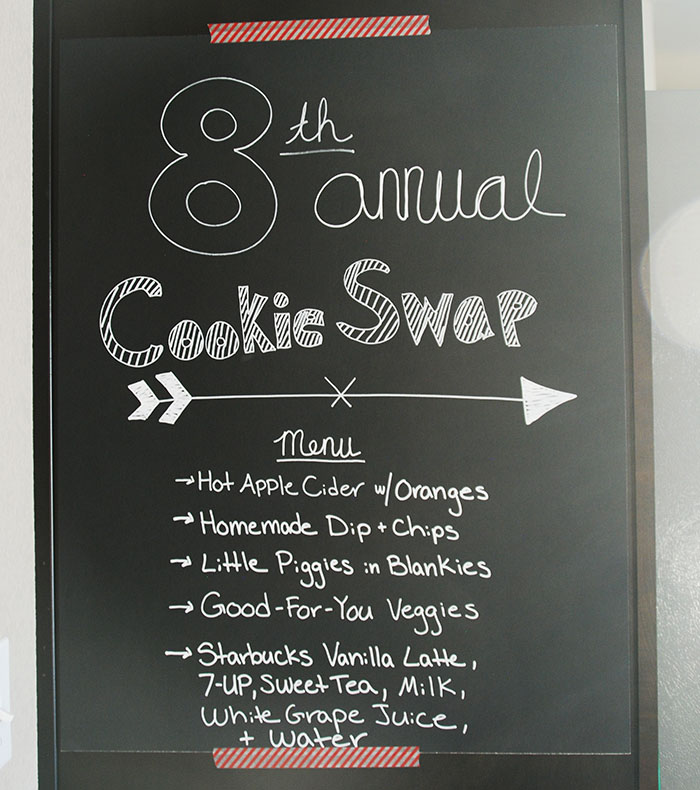
Dec, 138th Annual Cookie Swap
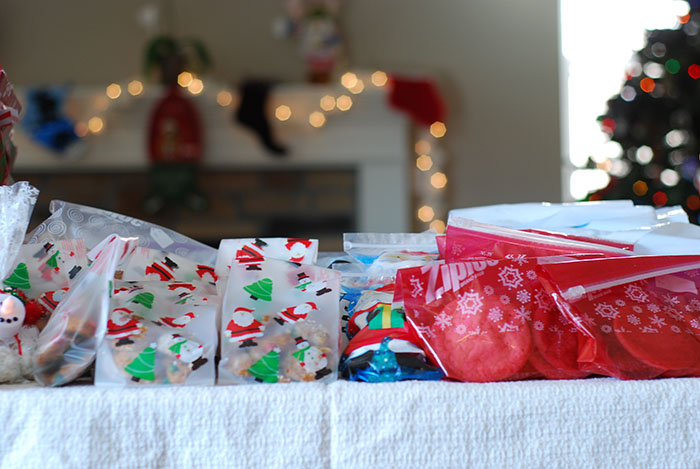
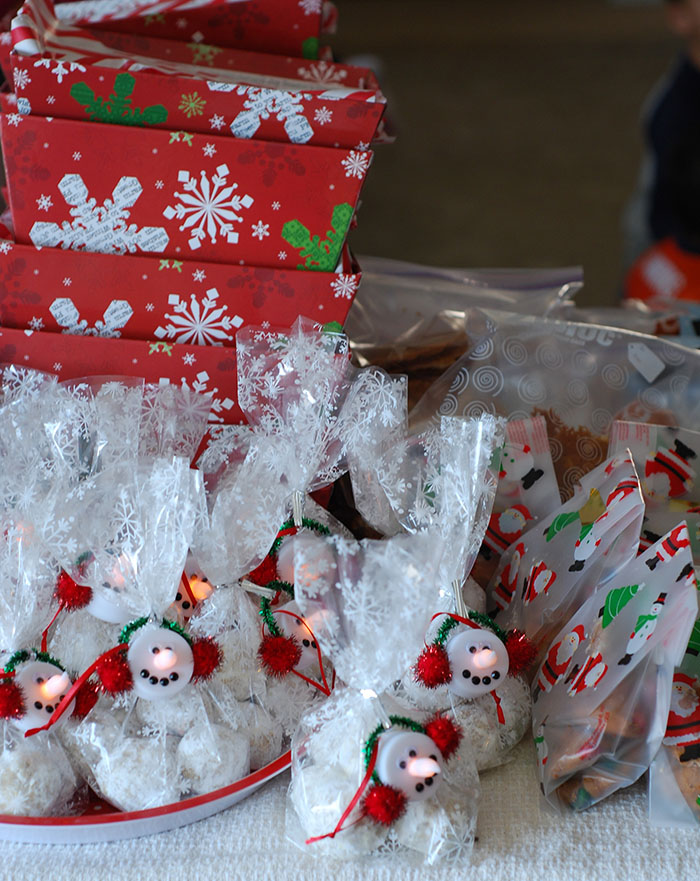
Another wonderful Cookie Swap wrapped up today. I’m so thankful for all of the wonderful ladies in my life that make this event happen each year. We had a solid 12 participants this year, can you believe it?! Since there were so many, we decided to make a 1/2 dozen for each person, rather than a full dozen. That seemed to work out nicely. My mom was so sweet and surprised me with a cookie recipe book for my hostess gift. I’ve already started browsing through the pages in search of next years recipe. I can’t wait!
Now I’m going to go and eat one of every cookie, so if you’ll excuse me… haha!

