
04
Mar, 14DIY | Marquee Letters
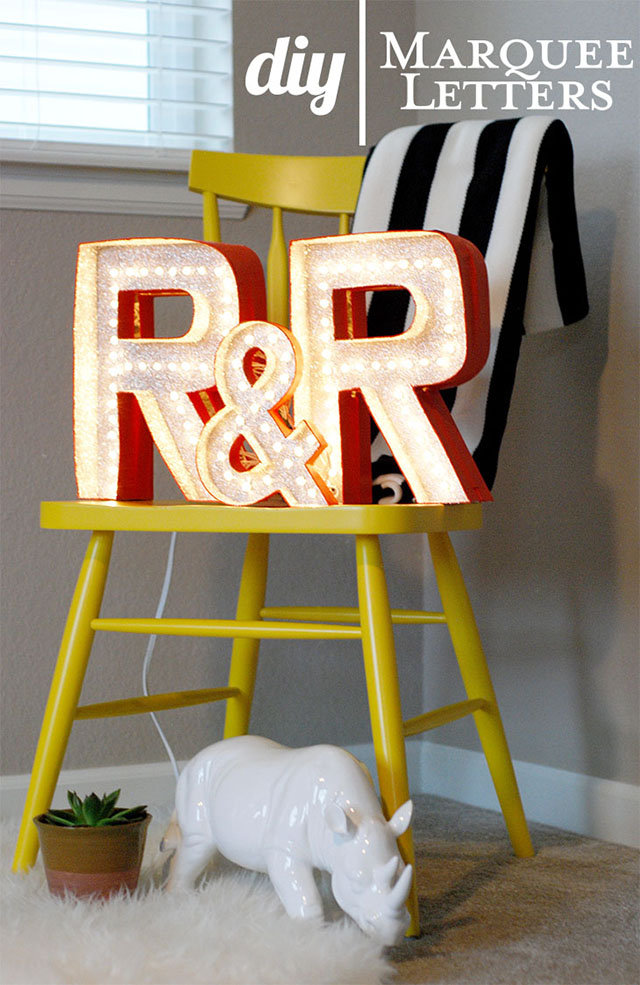
So, I’ve been browsing the Internet (and when I say ‘Internet” I really mean Pinterest – I mean, let’s be honest; what else is the Internet for these days, other than to support Pinterest?) …I digress. As I was saying, I was looking around for a good (no, GREAT) Marquee Letter DIY. I actually found several nice ones, but none that were quite what I was looking for. So, I decided to create some with my own touch of special and a whole lotta glitter! Of course I wanted to share how I made them, so here you go:
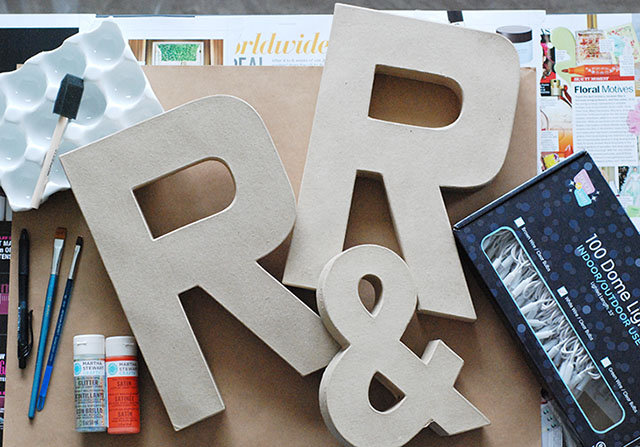
You’ll Need:
• Paper Mache Letters (they come in various sizes and can be found at JoAnn’s and Hobby Lobby)
• Acrylic Paint (I chose Martha Stewart’s Satin paint in Geranium for the burnt orange and then used white and black to make the grey)
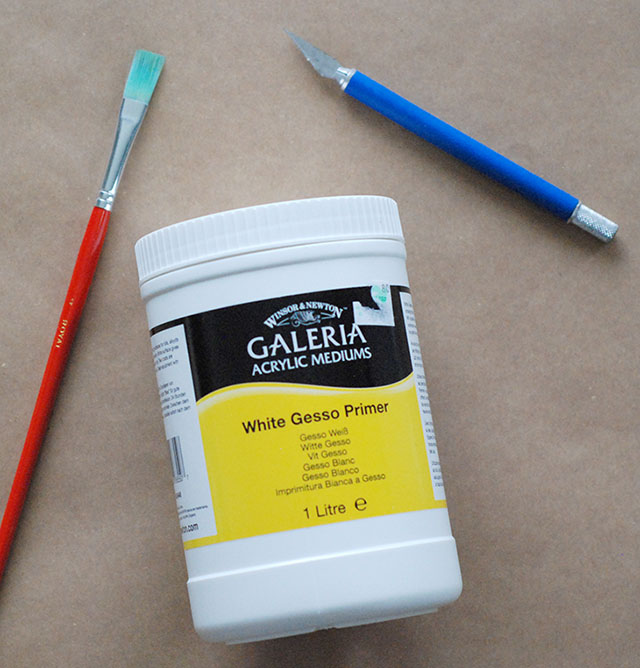
• Gesso (Canvas Primer)
• GLITTER + Mod-Podge (at first I chose Martha Stewart’s Acrylic Glitter paint in Antique, but wasn’t impressed with the overall effect, so I turned to good old-fashioned Mod-Podge and Glitter – why mess with a good thing, right?)
• X-acto Knife
• E6000 glue or hot glue gun or tape
• Paint Brushes/Sponges
• Pencil
• Ruler or tape measure
• String of lights
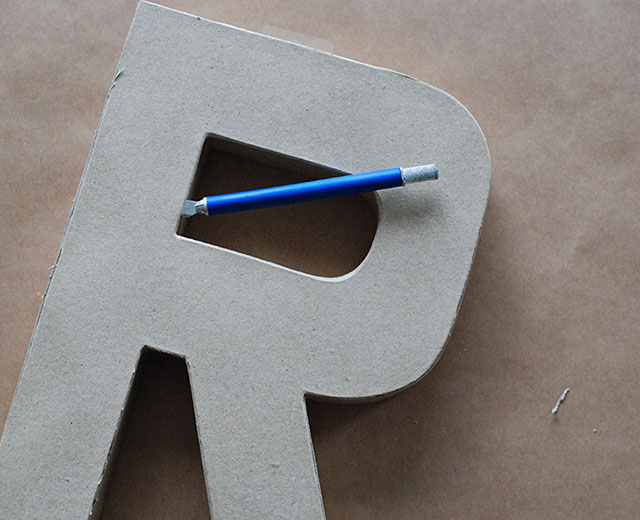
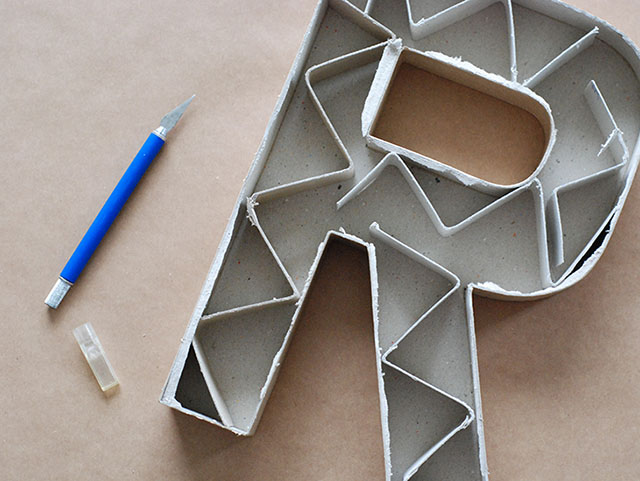

1. First, use the X-acto knife to carefully cut the front off of each paper maché letter; remove and recycle the “guts” and the top piece. Then clean up the edges with the X-acto knife.
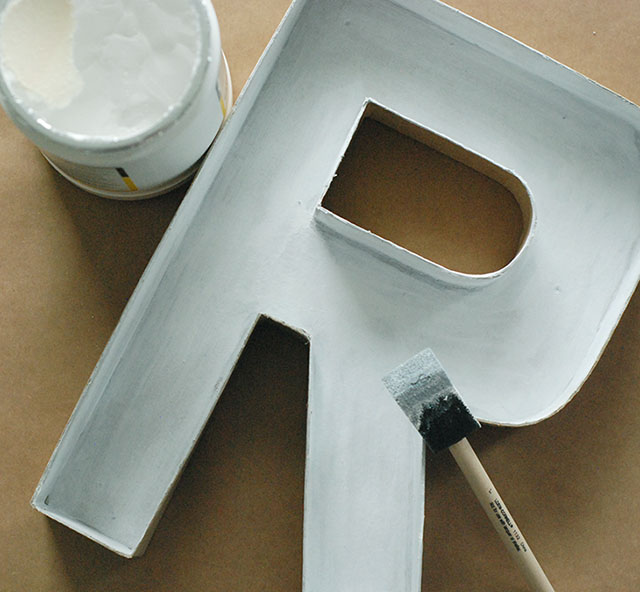
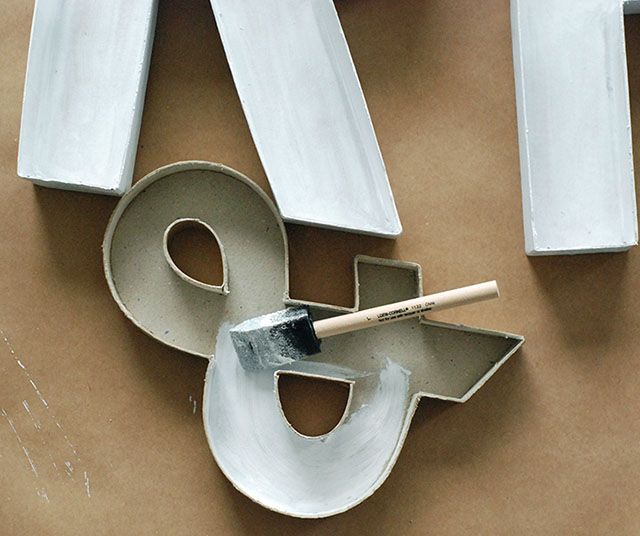
2. Next, use the sponge to paint one coat of Gesso on the inside and outside edges of each letter and let dry. I didn’t paint the back, but you’re more than welcome to.
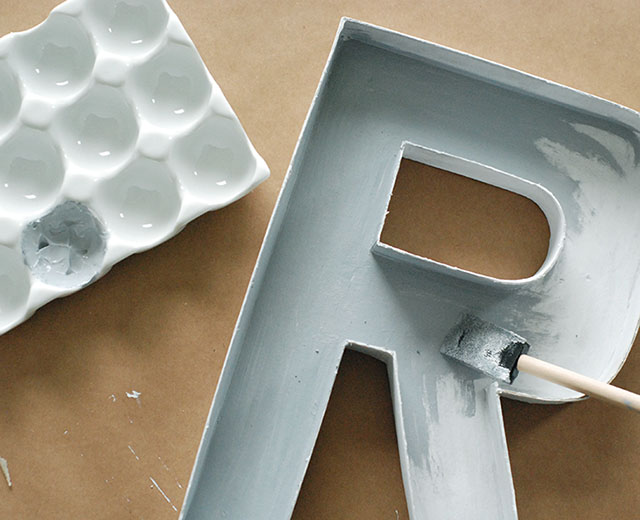
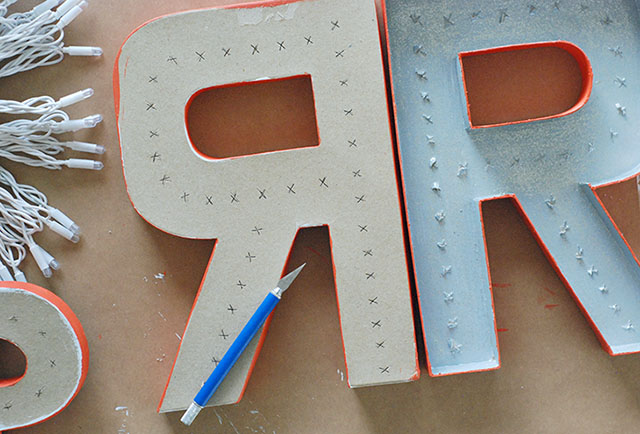
3. Once the Gesso is dry, mix up a light grey color using white acrylic paint with a small amount of black and use it to paint the inside of each letter. Once dry, follow-up with two coats of Martha Stewart’s Acrylic Glitter paint in Antique (allowing to dry between coats). NOTE: I wasn’t totally satisfied with the look of Martha Stewart’s Acrylic Glitter paint in Antique. Even with two solid coats, it didn’t give the super sparkly look that I was aiming for. So, I later went in and painted a coat of Mod-Podge and applied loose glitter. After I shook off the excess glitter, it was perfect!
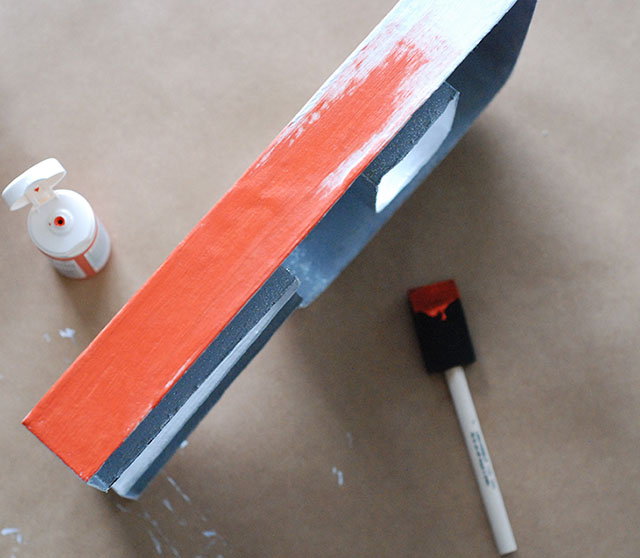
4. Then I used the sponge to paint the outside edges in Martha Stewart’s Satin Paint in Geranium. One coat was more that enough and I didn’t paint the back.
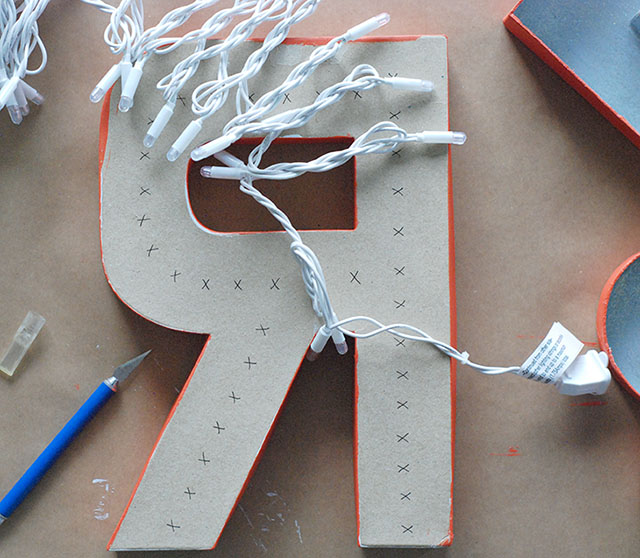
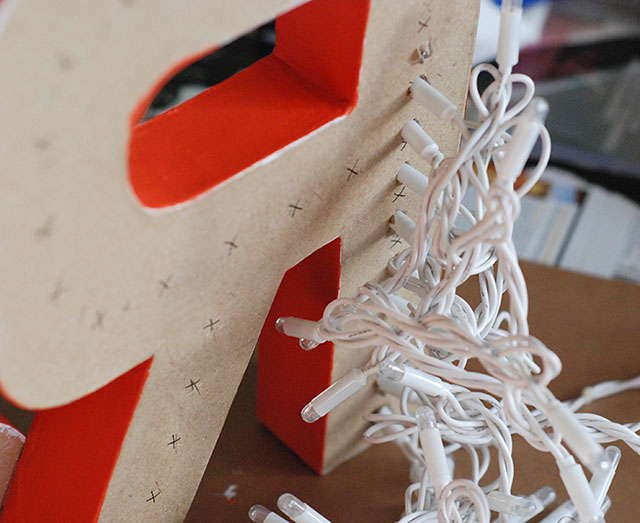
5. Measure and evenly space where each light will be inserted. Once you’ve marked each spot, use your X-acto knife to cut small “x’s” or a silent setter hole-punch to make each hole. Be careful not to make the holes too big, or the lights won’t stay in place. In fact, make each hole slightly smaller that the diameter of each light. This will insure a snug fit. NOTE: The saying measure twice and cut once applies here. I had to do this over because I got tired and tried rushing through it. The next morning everything was slightly off-center… grrrrr!
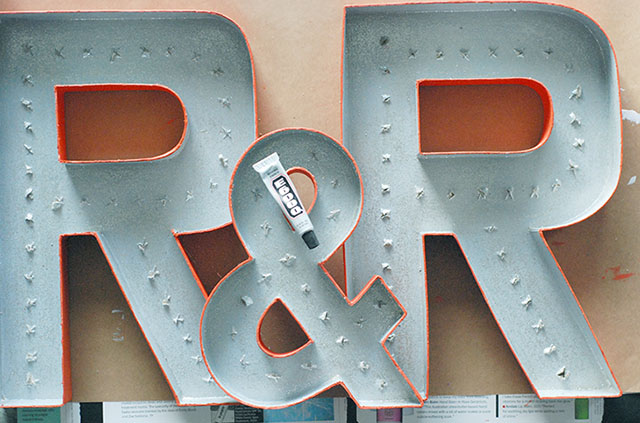
6. Be aware of where each light will go before you glue your letters together. You might have to insert the lights before gluing everything into place, depending on where they go. I placed the ampersand so that is rested on-top of both “R’s” to give some depth. You can secure the letters’ placement with E6000 glue or a hot glue gun. Both work great.
7. Lastly, insert your lights and again, make sure each one fits snug. You don’t want them slipping out. Since I messed up earlier and had to start over, I didn’t want to let the old “R’s” go to waste. So, I actually glued them onto the back of the good “R’s” to hide the protruding wires! Genius! They were already painted and good to go! You can also use some tape (and paint over the tape) to make it extra secure.

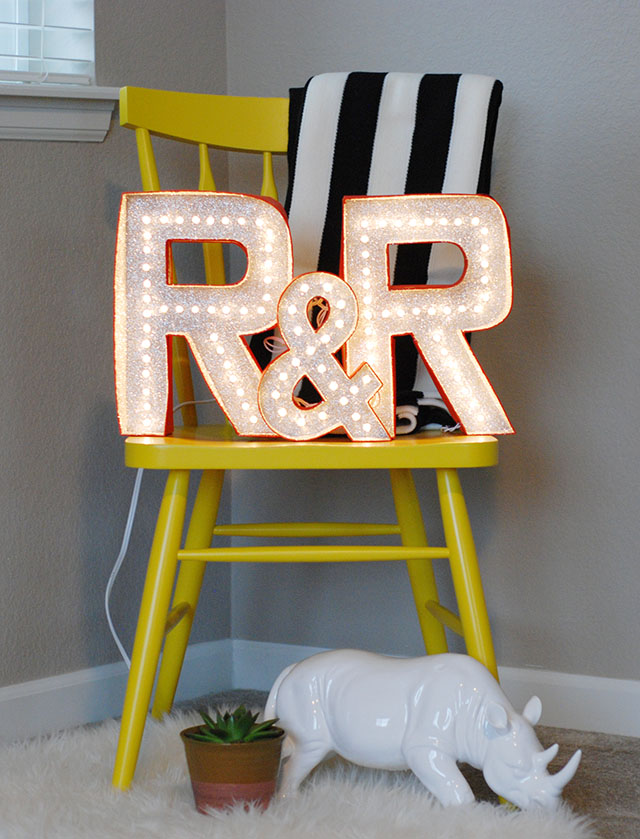
That’s it! The gesso, paint and Mod-Podge all dry pretty quickly, so it’s super easy. Let me know if you have questions. I can’t wait to see what you come up with!


I couldn’t help myself… I just had to share these cute photos of my babies! P.S. Brutus turned 9 years old and Tucker turned 5 years old last month. Frankie will be 6 years old this month!


Trackbacks/Pingbacks
[…] that list, so be sure to check them all out. Also, if you want my step-by-step instructions on my DIY Marquee Letters, click here, and make your own! Thanks for stopping by – I will float off on my Cloud 9, […]