03
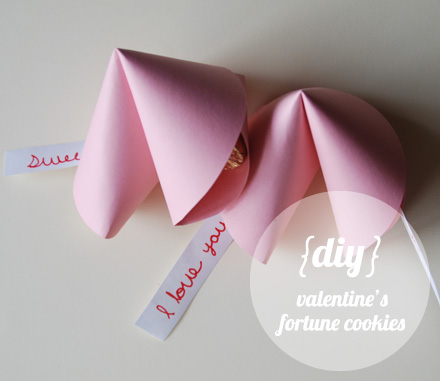
Feb, 12{diy} {Valentine’s 3 of 7} Paper Fortune Cookies
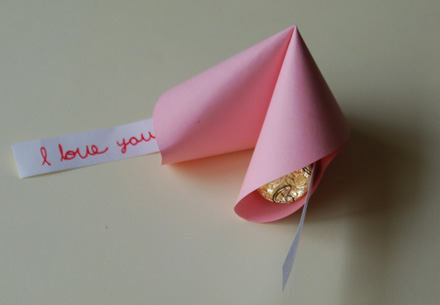
Welcome to the 3rd {diy} of 7! Today I will show you just how easy it is to make paper fortune cookies. Here’s what you’ll need:
• Paper (the thinner the better…card-stock is tricky)
• Something round to trace (any size)
• Glue Gun or Glue Dots
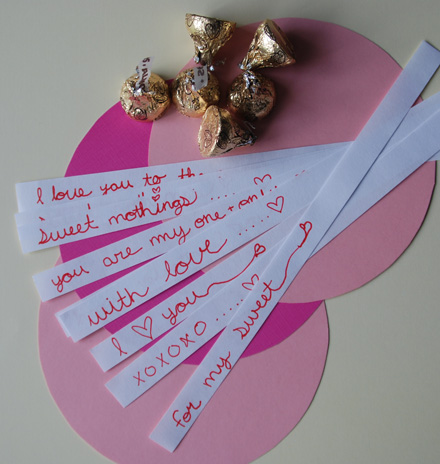
• Paper to write little love fortunes on
• Candy as filler
Here’s what you do:
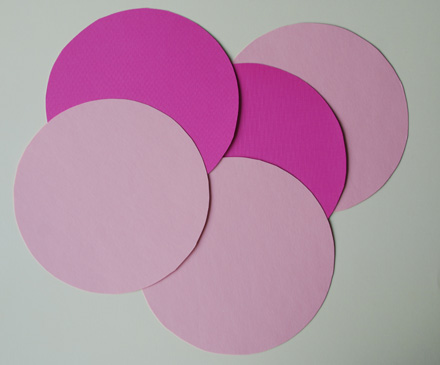
1. trace and cut out your circles.
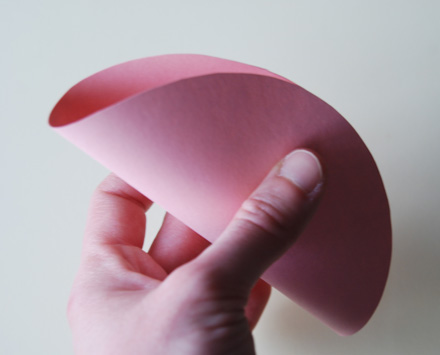
2. Then you bend/fold the circle in half – but don’t crease it. Keep a smooth bend.
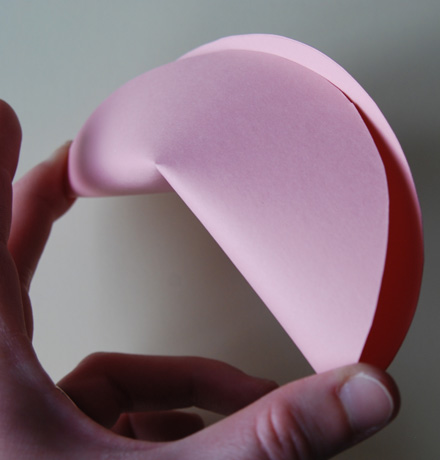
3. Then you hold both ends between you thumb and middle finger and pinch. I sometimes use my index finger to press in the middle to help the pinch go easier. The paper will naturally fold as it should.
4. Then fill them with sweet love notes and chocolates! To secure closed, I prefer to use a drop of hot glue (hold for a minute or two to dry) or you can use stronger glue dots. Once you have folded and pinched the fortune cookie, you will see areas where the paper touches – that’s where you want the glue to secure it.
Voila! There you have it, simple and fun Valentine’s Fortune Cookies. These are perfect little treats to sneak in your Loves lunch or briefcase! I’ll see you tomorrow! ♥RobbieLee
02
Feb, 12{diy} {Valentine’s 2 of 7} Glitter Clothes-Pins
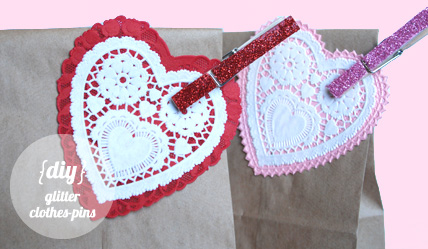
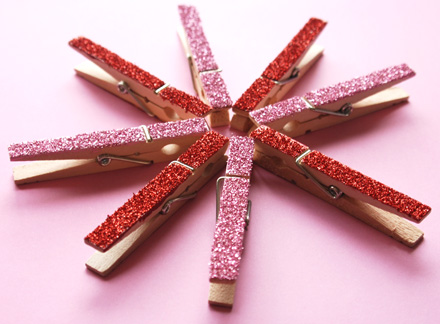
Here is another cute little Valentine’s {diy} for you! I love to use these little clothes-pins to clip on gift tags. They are such a sweet little touch that go a long way. Don’t stop there though; use them to hold up your garland, clip your mail together, or even add a magnet on the back and hang photos on your refrigerator!
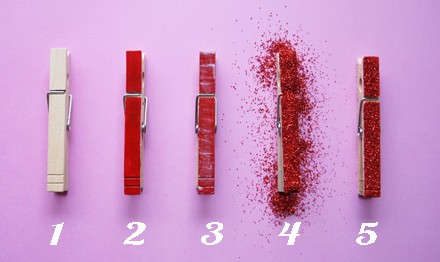
1. Start with a traditional clothes-pin.
2. I like to paint one side of the clothes-pin with red acrylic paint, because the glitter doesn’t stick to every last part of the wood. The paint will give the illusion that it’s all glitter and it will make it look very rich. Let the paint dry completely (usually about 5 minutes).
3. Generously brush on glue (I like Mod Podge in Matte).
4. Immediately after applying the glue, generously sprinkle your glitter (I used Imported German Glass Glitter from Meyer Imports) over the glue and let sit for about 10 minutes. This allows the maximum amount of glitter to stick.
5. After 10 minutes, shake off the excess glitter (save it for another project) and allow to dry for another 10 minutes or so. Then to ensure that the glitter doesn’t fall off, spray each glittered clothes-pin with Krylon UV-Resistant Clear Acrylic Coating. Do this outside or in a well-ventilated area and allow to dry completely. That’s it!
I also made some pink ones, using the same technique and supplies. This is such a fun and easy {diy} and you can make them in any colors you’d like! I’ll see you back here tomorrow for another Valentine’s {diy} project, and in case you missed it, here’s yesterday’s. ♥RobbieLee
01
Feb, 12{diy} {Valentine’s 1 of 7} Strawberries ‘n Cream Floats
It’s the first of February and that means that Valentine’s Day is just around the corner! To kick the month off right, I’ve prepared 7 lovely {diy} projects for you. So, starting today through the 7th, I’ll post a daily {diy} in the name of love.
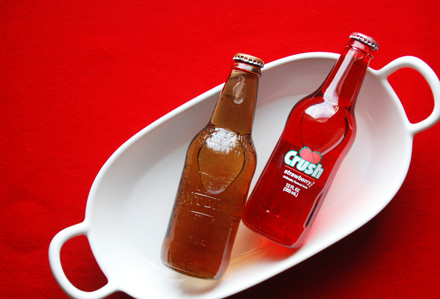
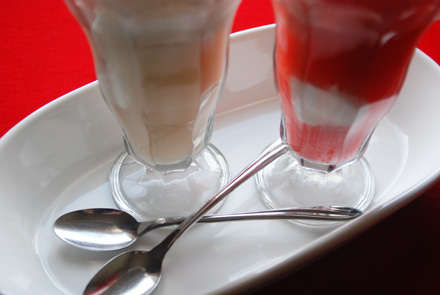
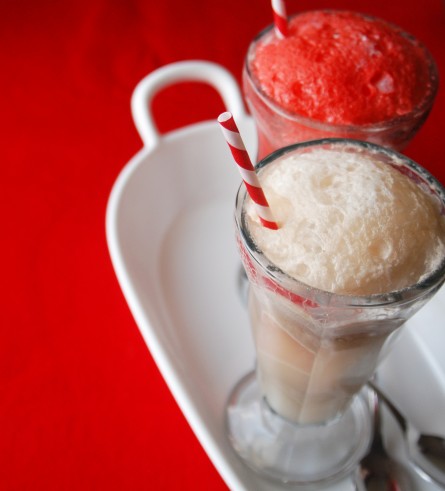
On that note, I L O V E root beer floats, so naturally I had to make a float for Valentine’s Day. I came up with a Strawberries ‘n Cream float, and geez it’s yummy! It’s so easy too, all you have to do is grab your favorite glass and add 3 large scoops of the creamiest Vanilla Bean ice cream that you can find (I like Dryer’s). Then you slowly poor in your strawberry soda just below the brim, (I like Crush, but any brand will do). Add a pretty straw and a spoon and there you have it! It is so creamy and delicious and a perfect treat to share with the ones you love.
I also like to make cream soda floats (pictured above), orange ‘n cream floats, Coke floats, and Dr. Pepper floats. What’s your favorite? I hope that you’ve enjoyed this little recipe. Stop by tomorrow for another lovely {diy}. ♥RobbieLee
18
Jan, 12{diy} Envelope Insert
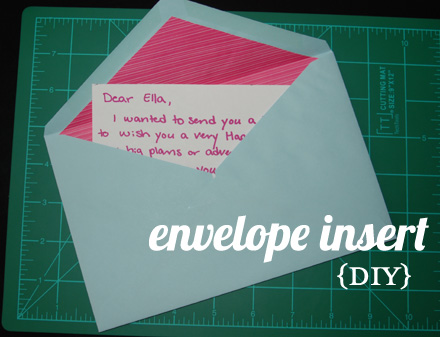
Today’s {diy} is something that I’ve been doing for years. It’s a quick and easy way to dress up your ordinary envelopes for any occasion.
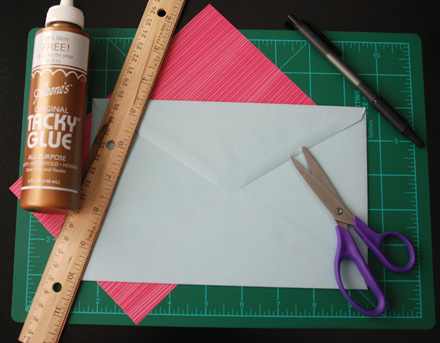
All you need are a few tools:
• Envelope ( any size or color will do)
• Scrap paper (any color)
• Scissors
• Ruler
• pen/pencil
• Glue (any kind that is good with paper crafts – strong glue stick, Elmer’s, Tacky Glue, etc. Scrapbooking glue works great!)
• Optional: A paint brush to spread the glue, or you can use your finger
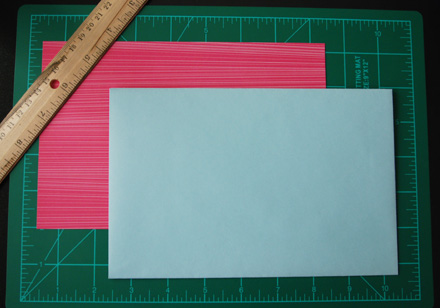
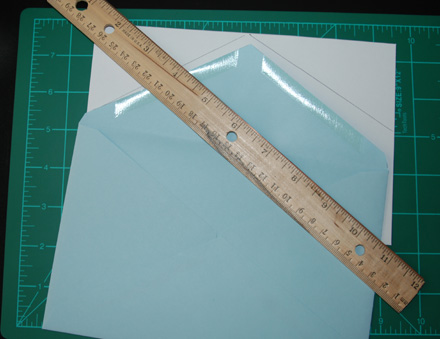
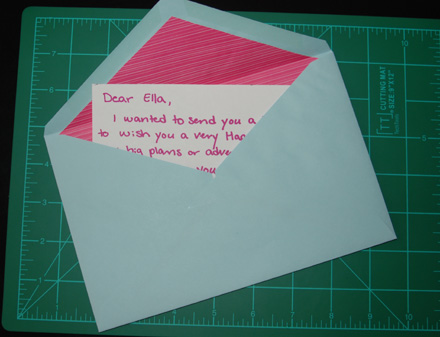
Now that you have all of your tools, let’s get started! First, flip your scrap paper over and trace your envelope onto the back of your scrap paper, and cut it out. This gives you a good size to start with. Next, flip the envelop flap open and center the envelope over the scrap paper and trace the flap onto the back of the scrap paper.
Now you can test to see if the scrap paper fits inside of the envelope (it probably won’t fit, so you will need to trim off a small sliver on each side of the scrap paper to make it fit).
Once you have it just right, you can apply the glue to the back of the scrap paper and fit it inside of your envelop being sure to leave room for the seal across the flap. This part is tricky and can be messy, but after you do it a few times, you’ll get it. Now just place it flat under a stack of magazines or something heavy and let dry for about an hour or two, and once it’s dry, you can carefully fold the flap and write a nice letter to a friend!
Easy, right!?! I like to make a bunch at one time so I can always have them on hand for birthdays, weddings, or fun letters to mom. I hope you enjoyed this little {diy}. ♥RobbieLee
26
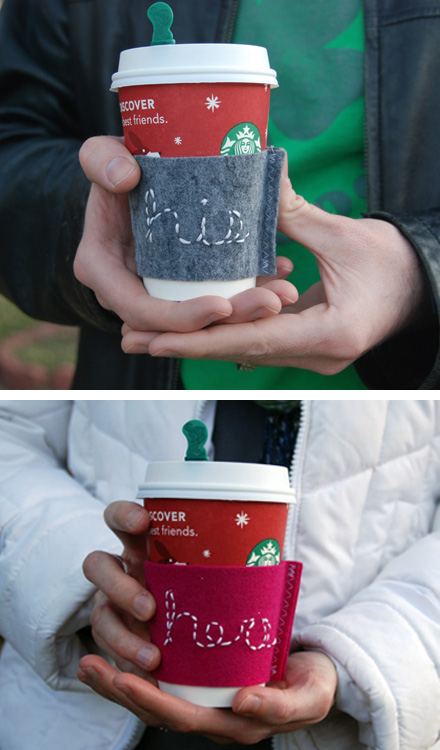
Nov, 11{DIY} Coffee Cozy
Oh boy this was a fun project (and easy too!)! I got the cozy template from Purl Bee and added some extra flair with embroidery thread. Here is how Purl Bee explains it and below is what I did. I can’t wait to use these as stocking stuffers for all of the coffee drinkers in my group. They will love them!
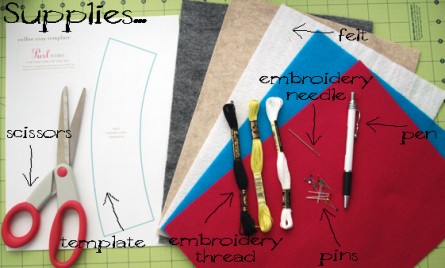
Supplies: scissors, Purl Bee template, embroidery thread, embroidery needle, pins, pen, and felt (I used eco felt made from recycled bottles).
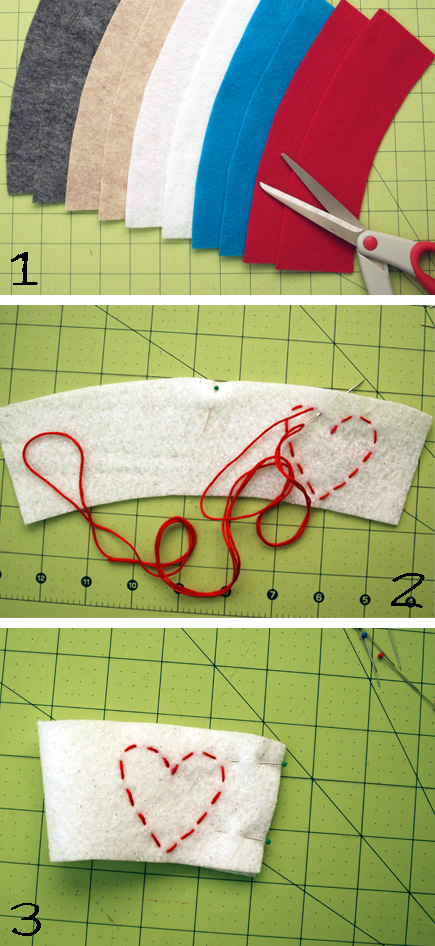
1. Print out, cut and trace the template onto the felt. Purl Bee recommends doing this “assembly line” style and I agree. It makes it a lot easier and faster.
2. Before you sew it closed, I fold the felt in half and stick a pin in the center to mark it. Then open it up and sew your design or add buttons, applique, etc. between the edge and the center point. You really can do whatever you want in this step, so make it unique!
3. Then I fold it in half and pin in closed.
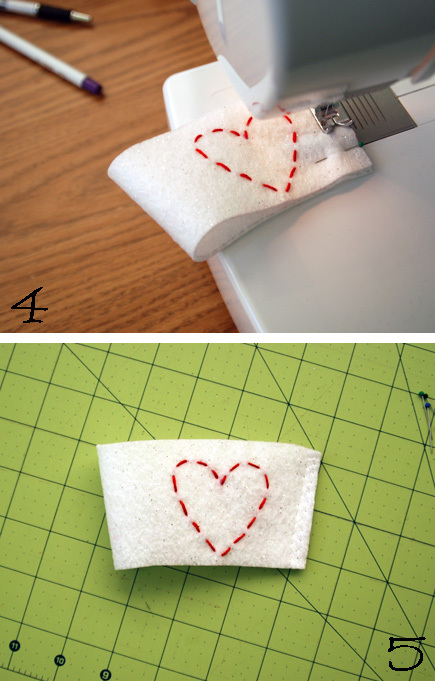
4. Then stitch the cozy closed. you can use a zigzag stitch, straight stitch, blanket stitch or whatever kind you want. Note: be sure to sew closer to the edge, so you don’t make the cozy too narrow. you want it to fit the cup properly. If you don’t own a sewing machine, no worries. You can easily stitch it closed with embroidery thread.
5. And… voila! You’re done. Now you can take your cozy anywhere, and they are washable.
I hope you enjoyed this post and if you make some, be sure to share! I want to thank Purl Bee for sharing such an easy and wonderful project!
♥ RobbieLee
03
Aug, 11{humpday tutorial} Boot Box
Oh my goodness! How cute is this handmade Boot Box?! Totally cute!! You can make this with just a few inexpensive materials and a little bit of time. Find out how at Fresh Home Ideas. What I love about this creation is that you can put it both indoors and out. The rocks are a great way to keep air circulating under the boots to prevent mold and other funk from growing! Great idea!
13
Jul, 11{humpday tutorial} DIY Envelope Liners
Um… yes please!! I found these lovely printable + DIY Envelope Liners over at ellinee.com and I’m in love! How nice of them to share with all of us, huh?! Visit their site to print and create your own and let’s make the world a lovelier place one envelope at a time.
06
Jul, 11{humpday tutorial} DIY Umbrella
What a great idea! It’s so simple, yet very adorable. It is difficult to find that umbrella that fits your personality, or in this case – sense of humor, so why not make your own?! Visit paperplateandplane.com for the full how-to. All you need is a clear umbrella, images to trace, a sharpie and a paint marker.
02
Jul, 11off the rim
Oh my goodness, these look beautiful and tasty. I would have never thought to use sprinkles to rim a glass of punch or milk. As most of you know, my hubby and I don’t drink, so we are always looking for great mocktails!
{ohsolovely} I couldn’t find the original source for this image. If anyone knows, please let me know, thanks! — I’m absolutely smitten with this image and idea. The colors are what instantly attracted me, but it looks so yummy too.
{source} Through in some cookies and I’m there!
{penandpaperflowers} …Pink sugar, oh my!
29
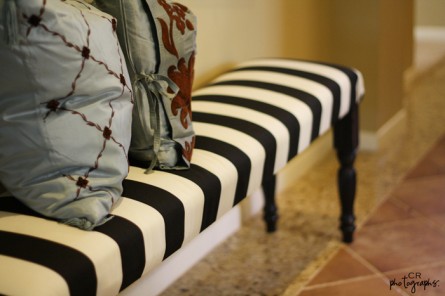
Jun, 11{humpday tutorial} Ballard Design Bench
Oh my goodness I love this bench! The fabric screams RobbieLee and it would look fabulous in my studio. I found this amazing tutorial over at Two Friends•Two Cities, and just had to share it with you. Once you get all of your tools and supplies, it should only take you a couple of hours to complete. I really want to try this, I just need to find the time to do so. If you try it, please send pics!

