
21
Mar, 14Manzanita Calligraphy Workshop #1
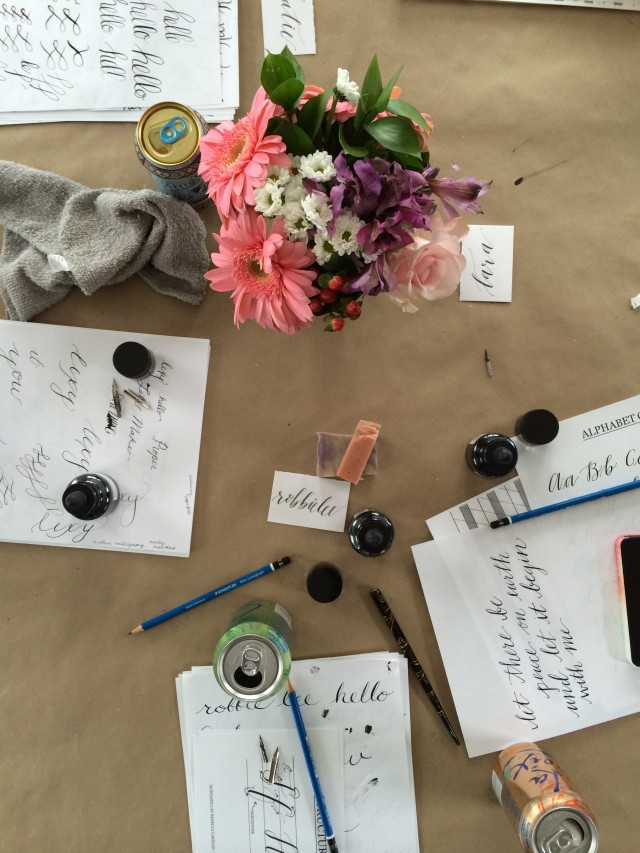
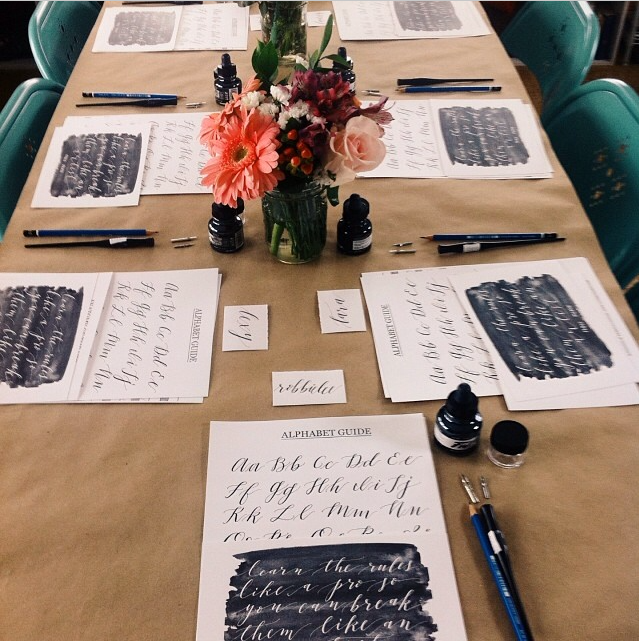
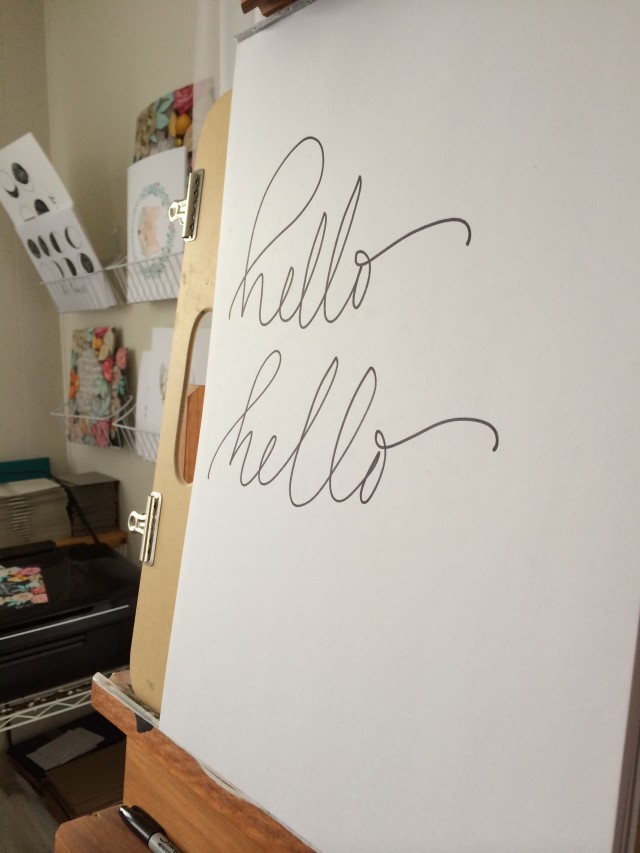
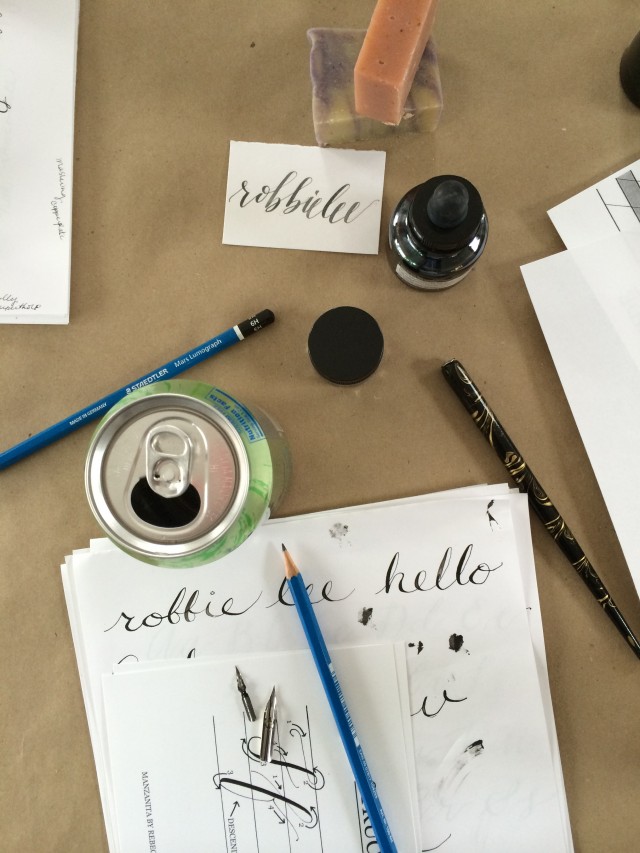
This past Saturday I was a student in Rebecca Caridad’s very first Calligraphy Workshop in Boulder, CO. There were only 7 of us and we had a fun time learning the basics of Calligraphy. I’ve only practiced once since the class, due to my studio currently being re-done. Once I get it all in order, I plan to put my pen to paper and really get to know my style of writing. That’s the beauty of it – just because you learn something, doesn’t mean that you can’t bend, or even break, the rules. I’m pretty good at breaking rules… so, stay tuned for that. Until then, check out a few snapshots that Rebecca’s younger sister took of our workshop here.
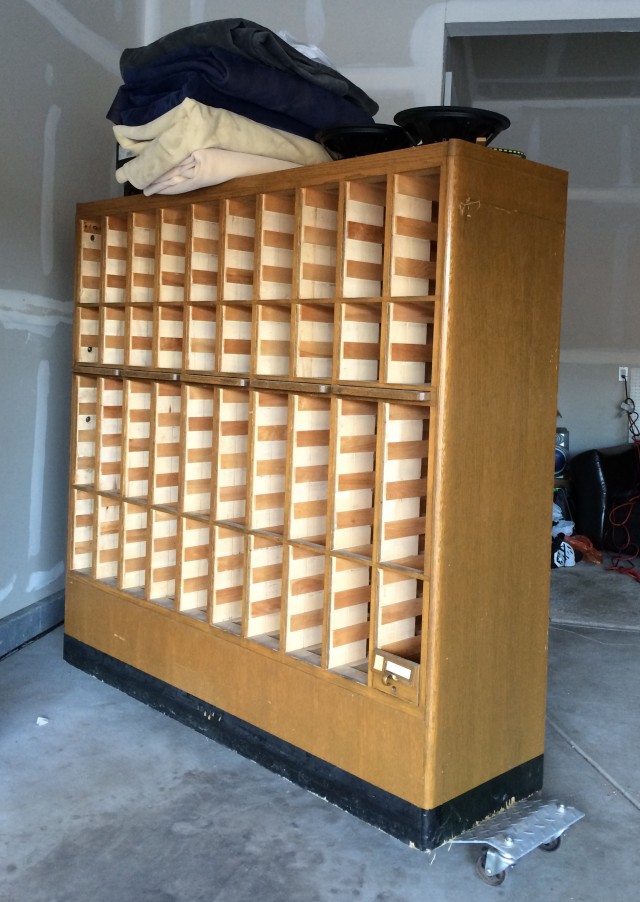
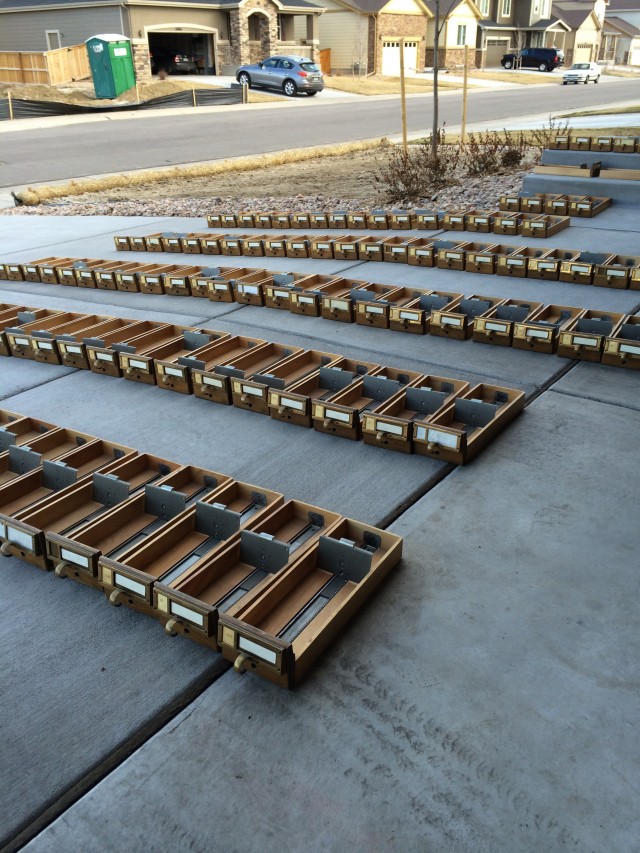

I’ve put a hold on making anything this week, so that I can focus on getting my new studio all sorted out. I really have to have a clean, bright and inspiring place to create. Otherwise, I find it difficult to stay focused. Anyone else have this problem? Anyhoo, the most challenging part of the studio will be getting my 120-drawer Library Catalog, that my dad gave me, out of the garage and up the staircase. I dusted and cleaned it really well, so it’s ready to be moved in. Wish me luck!
18
Jan, 12{diy} Envelope Insert

Today’s {diy} is something that I’ve been doing for years. It’s a quick and easy way to dress up your ordinary envelopes for any occasion.

All you need are a few tools:
• Envelope ( any size or color will do)
• Scrap paper (any color)
• Scissors
• Ruler
• pen/pencil
• Glue (any kind that is good with paper crafts – strong glue stick, Elmer’s, Tacky Glue, etc. Scrapbooking glue works great!)
• Optional: A paint brush to spread the glue, or you can use your finger

Now that you have all of your tools, let’s get started! First, flip your scrap paper over and trace your envelope onto the back of your scrap paper, and cut it out. This gives you a good size to start with. Next, flip the envelop flap open and center the envelope over the scrap paper and trace the flap onto the back of the scrap paper.

Now you can test to see if the scrap paper fits inside of the envelope (it probably won’t fit, so you will need to trim off a small sliver on each side of the scrap paper to make it fit).

Once you have it just right, you can apply the glue to the back of the scrap paper and fit it inside of your envelop being sure to leave room for the seal across the flap. This part is tricky and can be messy, but after you do it a few times, you’ll get it. Now just place it flat under a stack of magazines or something heavy and let dry for about an hour or two, and once it’s dry, you can carefully fold the flap and write a nice letter to a friend!
Easy, right!?! I like to make a bunch at one time so I can always have them on hand for birthdays, weddings, or fun letters to mom. I hope you enjoyed this little {diy}. ♥RobbieLee
07
Aug, 11{studio sunday} with Kristen of Paper Crave

It’s that time again! This week we will be peeking into Kristen Magee’s studio space. Does that name sound familiar to you? Of course it does! Kristen is the creative mastermind behind Paper Crave. The site that you visit when you crave all things paper. I love paper, as you know, but dare I say that I’ve found someone with a greater obsession over paper than I!?! Yes, it’s true! Kristen fills her shop and blog with so much eye candy for the paper lover in all of us. Now it’s time to see where all of the magic happens…

1. Who are you and what do you create/do?
I’m Kristen Magee from Paper Crave, and I’m a paper lover, crafter, home cook (gluten and sugar free), and freelance graphic designer and web developer.

2. Where is your studio located? (in your home or somewhere else?)
My studio/office is in my apartment. It’s technically the second bedroom, but when we moved in, my husband and I knew immediately that we wanted to use it as our workspace. Since we have to abide by all of the fun apartment building rules, we can’t paint (boo) or tear up the carpet (double boo), so we went for a light, modern look. Thankfully, we have a huge walk-in closet in our bedroom, and I store most of my craft supplies in there. It means that I have to shuttle things back and forth a lot (I re-purposed my husband’s old toolbox to hold the smaller supplies that I use most often, so I can just grab it and go), but this system helps me keep things more organized.

3. How long have you had your current studio space?
Just about three years.

4. What is your favorite part of your studio?
I love that my desk is right next to the window. We’re 11 floors up, so the view is pretty great. I also love the cabinet that holds the printer and my die-cutting machines, scanner, and paper cutter. Everything was scattered all over the floor until recently, so it was great to get something into the space that organizes everything and keeps it off of the floor. That drove me crazy!

5. Approximately how many hours per day do you spend in your studio?
About 10-12 hours a day. I practically live in here, but I also like to do whatever crafting I can on the couch in the living room.

6. Do you have any future plans for your studio space? (i.e. revamp, new location, etc.)
The space is still pretty blank, and I’ve been itching to get more color on the walls (I really wish we could paint). For a while, I’ve been collecting prints, posters, and other pieces that I can hang on the wall. Now, I just need to decide where I want everything to go!

7. Is there anything else that you’d like to share?
You can also find me at Invitation Crush, where I share all things invite and over at Domestifluff, where I share gluten free, sugar free recipes, as well as some of my craft projects.
Thanks so much, Kristen, for letting us peek into your creative space! It’s nice to see where all of your creativity is bottled up and channeled out. Keep doing what you do and thanks again! Be sure to visit all of Kristen’s sites; she has has so much to offer!
13
Jul, 11{humpday tutorial} DIY Envelope Liners

Um… yes please!! I found these lovely printable + DIY Envelope Liners over at ellinee.com and I’m in love! How nice of them to share with all of us, huh?! Visit their site to print and create your own and let’s make the world a lovelier place one envelope at a time.
26
May, 11{inspiration} vol.5
Here are a few inspirational things that came across this week and I just had to share them! Enjoy…

Hitchcock-inspired embroidery found on What, No Mints?

Reupholstered couch that’s kid and pet friendly?! Yes ma’am! From A Bit of Sunshine.

What’s better than adorable photos of sweet lil animals?! NOTHING! Absolutely nothing! I found a write up on Sharon Montrose on Shrimp Salad Circus and instanly fell in love with Sharon’s work. She truely is a talented woman. Vist both Sharon’s site and Shrimp Salad Circus for some more insite.

Hand-stitched Place cards – Christina Williams shows you that they are easier to make than you might think…
01
May, 11Pinhole Press

I stumbled upon Pinhole Press a few weeks ago and really want to get one of these printed up! I love the idea of having a personal note pad handy. The best part is that they are not too pricey at all and they would make great gifts. These nifty notepads are not all they do, so be sure to check them out here.
31
Mar, 10the right package
Packaging is so important. It really does more than just contain whatever is inside, it showcases it and grabs your attention so that you want to open it and see what’s inside. Here is a great example of good packaging that I found here.


25
Mar, 10DIY: Eco-packaging
I stumbled across this the other day and simply fell in love with the idea! Mandi at Here’s Looking At Me Kid shares a fabulous way to stay green and creative while shipping products or gifts through the mail. The full how-to can be found here at A Beautiful Mess, but basically you just use a paper bag and stitch it closed. The great thing is that you can decorate it as you wish! It’s also a great way to save some cash. I love this idea so much, I’m going to adopt it! I actually have a similar idea that I’ve been actively using for about 8 years now. I’ll post a DIY on that soon! Thanks Mandi!

Images via A Beautiful Mess
08
Feb, 10Lined With Sweetness…
Cupcake liners are really something these days, because you not only have different colors to choose from, but different prints as well! These are a few that I really like, enjoy!

The Environmentally Friendly Baking Cups (brown) can be found at If You Care.
All of the printed liners can be found at Bake It Pretty.
14
Sep, 09DIY Party Favor Bags
 These DIY Party Favor Bags would be great for a baby shower or bridal shower. Amy Moss at Eat Drink Chic shares the complete tutorial with free template downloads – yes, FREE downloads. I just love how professional and mature these look, but you can change up the paper and images to create great Favor Bags for any occasion. Enjoy!

