18
Jan, 12{diy} Envelope Insert
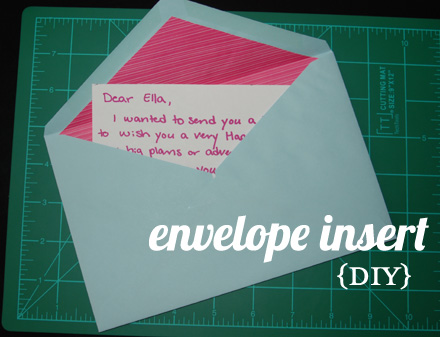
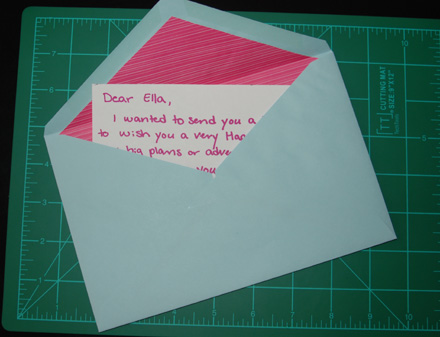
Today’s {diy} is something that I’ve been doing for years. It’s a quick and easy way to dress up your ordinary envelopes for any occasion.
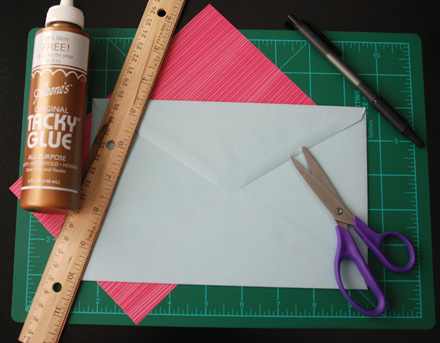
All you need are a few tools:
• Envelope ( any size or color will do)
• Scrap paper (any color)
• Scissors
• Ruler
• pen/pencil
• Glue (any kind that is good with paper crafts – strong glue stick, Elmer’s, Tacky Glue, etc. Scrapbooking glue works great!)
• Optional: A paint brush to spread the glue, or you can use your finger
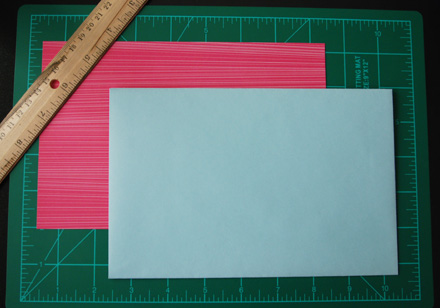
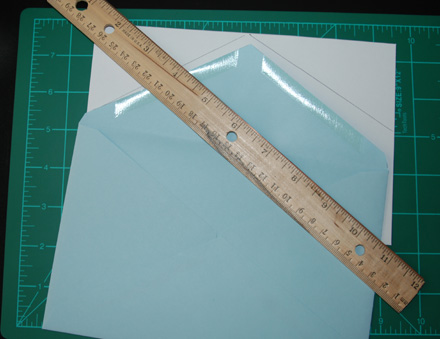
Now that you have all of your tools, let’s get started! First, flip your scrap paper over and trace your envelope onto the back of your scrap paper, and cut it out. This gives you a good size to start with. Next, flip the envelop flap open and center the envelope over the scrap paper and trace the flap onto the back of the scrap paper.
Now you can test to see if the scrap paper fits inside of the envelope (it probably won’t fit, so you will need to trim off a small sliver on each side of the scrap paper to make it fit).
Once you have it just right, you can apply the glue to the back of the scrap paper and fit it inside of your envelop being sure to leave room for the seal across the flap. This part is tricky and can be messy, but after you do it a few times, you’ll get it. Now just place it flat under a stack of magazines or something heavy and let dry for about an hour or two, and once it’s dry, you can carefully fold the flap and write a nice letter to a friend!
Easy, right!?! I like to make a bunch at one time so I can always have them on hand for birthdays, weddings, or fun letters to mom. I hope you enjoyed this little {diy}. ♥RobbieLee



January 22, 2012 at 3:29 pm
This is perfect, I am absolutely going to try this and I will send you one to show you my work haha. Thanks for always posting the cutest stuff!
January 22, 2012 at 4:28 pm
Awww… thank you Jess! So glad you love it and yes, please do send me one! They are so easy!