02
Feb, 12{diy} {Valentine’s 2 of 7} Glitter Clothes-Pins
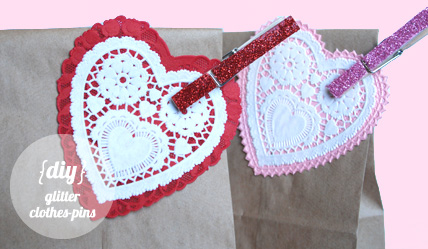
Here is another cute little Valentine’s {diy} for you! I love to use these little clothes-pins to clip on gift tags. They are such a sweet little touch that go a long way. Don’t stop there though; use them to hold up your garland, clip your mail together, or even add a magnet on the back and hang photos on your refrigerator!
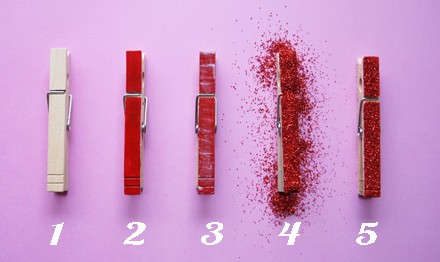
1. Start with a traditional clothes-pin.
2. I like to paint one side of the clothes-pin with red acrylic paint, because the glitter doesn’t stick to every last part of the wood. The paint will give the illusion that it’s all glitter and it will make it look very rich. Let the paint dry completely (usually about 5 minutes).
3. Generously brush on glue (I like Mod Podge in Matte).
4. Immediately after applying the glue, generously sprinkle your glitter (I used Imported German Glass Glitter from Meyer Imports) over the glue and let sit for about 10 minutes. This allows the maximum amount of glitter to stick.
5. After 10 minutes, shake off the excess glitter (save it for another project) and allow to dry for another 10 minutes or so. Then to ensure that the glitter doesn’t fall off, spray each glittered clothes-pin with Krylon UV-Resistant Clear Acrylic Coating. Do this outside or in a well-ventilated area and allow to dry completely. That’s it!
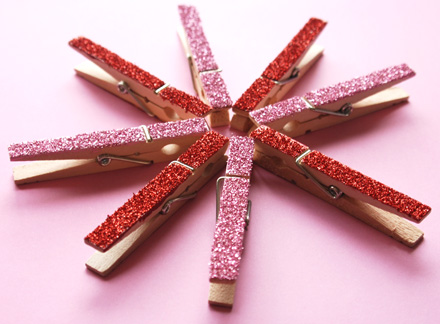
I also made some pink ones, using the same technique and supplies. This is such a fun and easy {diy} and you can make them in any colors you’d like! I’ll see you back here tomorrow for another Valentine’s {diy} project, and in case you missed it, here’s yesterday’s. ♥RobbieLee
3 Responses to “{diy} {Valentine’s 2 of 7} Glitter Clothes-Pins”
Trackbacks/Pingbacks
-
-
October 2, 2012
[…] 1. You can start by painting one side of the clothespin so that the entire surface is covered with color. Make sure to let the paint dry completely. 2. Cover the same side with glue. 3. Immediately after applying the glue, cover with glitter. Let the glitter sit for at least 10 minutes and shake off the excess. Let it dry completely. 4. To keep the glitter in place, spray the clothespin with a Krylon UV resistant clear acrylic coating and let them dry again. (instructions from chickidee). […]


February 2, 2012 at 5:03 pm
Adorable and I LOVE glitter 🙂 where do you get Krylon coating from? I am adding this on my to do list! Love your projects!
February 2, 2012 at 10:39 pm
Hey Jessica! You can get the Krylon Coating at Hobby Lobby, Michael’s, JoAnn’s or any crafty store should sell it there. It runs about $9 a can. Thanks for stopping in lady!