
04
Jun, 14DIY | Washi Tape Door Trim
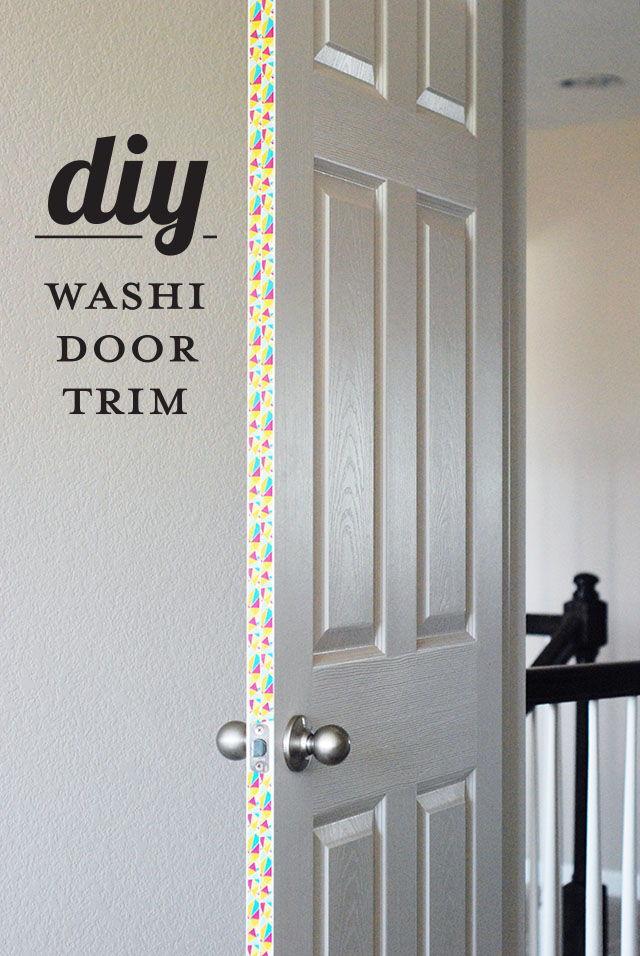
I’ve been unpacking and organizing while crafting and meeting deadlines. The other day, I took a break from printing Roblins to spruce up my door trim with some fun washi tape. I’ve been wanting to paint the trim, but wasn’t able to settle on a color yet. I thought washi tape would be the perfect temporary solution until I found the right color. But, now after seeing the finished result, I think that I’ll stick with the washi tape, because it offers so many more prints and patterns as well as the ability to change it in 5 minutes flat! And if you’re a renter – BONUS! This is a great way to add some (temporary) pizzaz to your space!
What you’ll need:
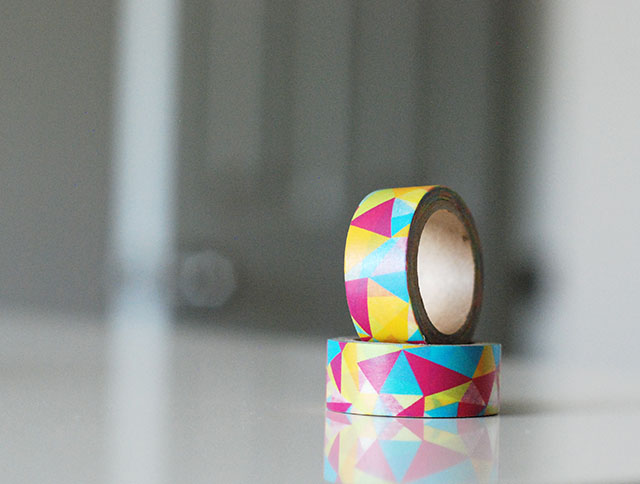
• Washi tape (I selected a 5 yd. roll for my 7 ft. door, and had some left over)
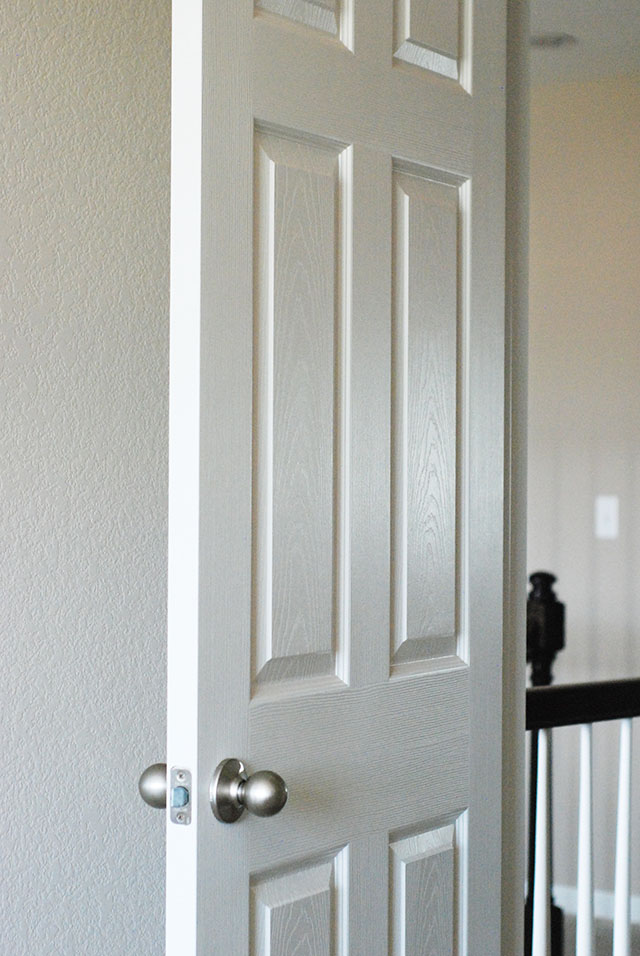
• A door
• Scissors (or you can just tear it) and an X-acto Knife (optional)
• Clear tape (to secure the ends and keep them from curling)
Seriously, that’s it!

Here’s what you’ll do:
• Wipe down the door trim with a dry paper towel. I had to do this because since our house was just built, things are still a bit dusty. You’ll just want to make sure that the surface is clean for the tape to stick better. You can also use a spray duster like a multi-surface Pledge spray if you need to.
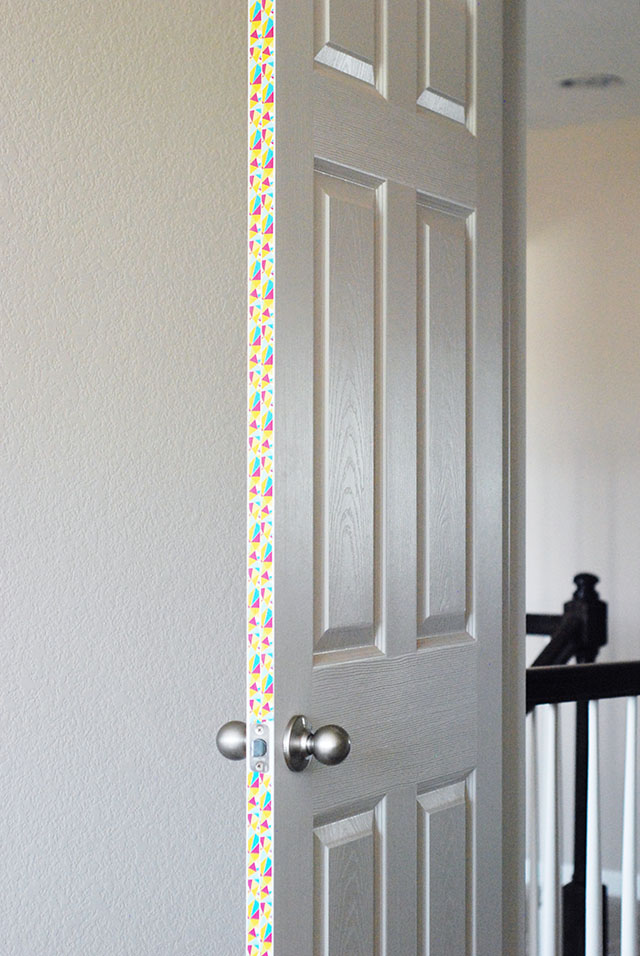
• Next, start from the top on the door and work your way down, making sure that there are no wrinkles in the tape. I chose a thin tape and then just did one strip down each side of the edge. They do make thicker washi tape, so browse around to see what fits your needs best.
• You may need an X-acto Knife to get a clean-cut around the latch.
• Once you’ve made it all the way down the door, use your scissors to cut a clean line at the bottom.
• Lastly, use a couple of small pieces of clear tape to keep the washi tape from curling at the top, bottom and near the latch, if needed.
Done and done! Happy taping.

