16
Oct, 12{diy} chalkboard name tags
True story, I woke up the other morning, bright and early, with this DIY on my mind. Wild, huh?! I’m not sure if I dreamt it, or if I thought of it as I was waking up, but I immediately wrote it in my ideabook so that I could share it with you. And boy am I excited to share!
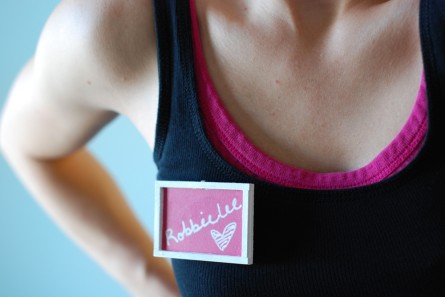
I don’t use them a ton, but I find the need for a name tag once in a while. I don’t think that it would hurt to have a name tag while I work the craft shows. My mom and I do a few a year, so these might come in really handy. And, if not, then I wouldn’t really need a good reason to wear such a cute name tag anyway… ha!
For this project you will need the following supplies:
Mini Chalkboards | These can be found at your local craft store, such as JoAnn’s.
Colored Chalkboard Paint | I chose pink, but you can choose another color or to keep it black.
Brooch Pins | These can be found at your local craft store in the jewelry section.
Acrylic Paint | This is optional. I wanted to paint the wooden frame.
Hot Glue Gun + Glue
Chalkboard Marker or Chalk
Paint Brush
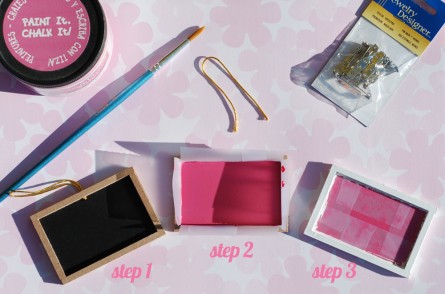
First you cut off the little string that comes attached to the mini chalkboard and tape off the frame so that you can paint the chalkboard. Once that’s completely dry, tape off the chalkboard and paint your frame. Then set aside to dry. (It may take more than one coat of chalkboard paint for full coverage. I let mine dry for an hour between each coat.)
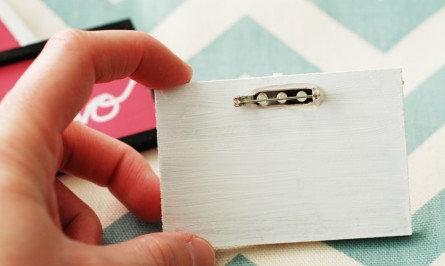
Next, hot glue the brooch pin on the back of the mini chalkboard, near the top-center. This will ensure that your name tag doesn’t tip forward and hang down. You want all to read it after all.
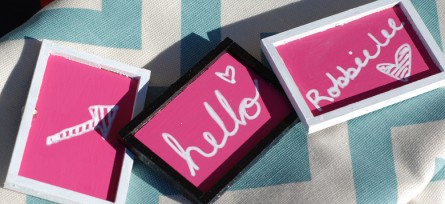
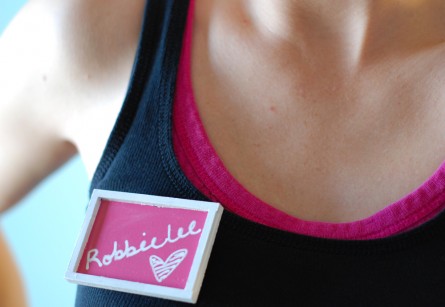
Lastly, write your beautiful name on it and call it done!
My favorite part of this {diy} is that its reusable and eco-friendly!!! Enjoy!
08
Jun, 12{diy} scrappy hangers
If you have a hubby like mine who works in the finance world, then you know a thing or two about dry cleaning and all that comes with it. The wire hangers are out of control! They’re great to bring his crisp clothes home, but once they get there, they just end up in a big box and forgotten.
The sad part is that you can’t recycle wire hangers and you shouldn’t throw them away, because they don’t break down and they pose a threat to local wildlife. So, there are two things you can do with them… either use them at home, or return them to your dry cleaners for them to reuse. My problem is that I don’t like uncoated wire hangers, because they can leave rust marks on your clothes, and I never remember to take them back to the dry cleaners. Sheesh!
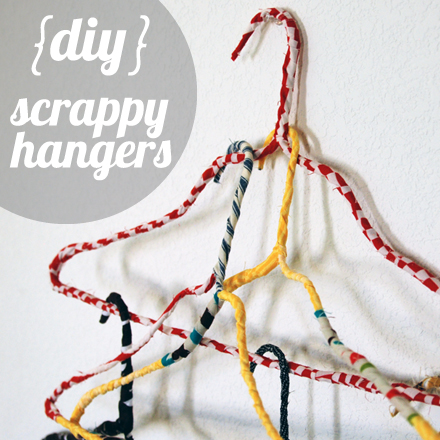
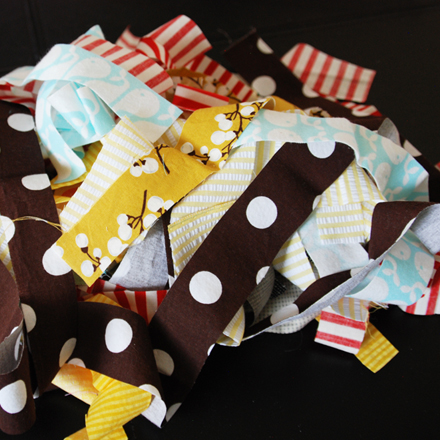
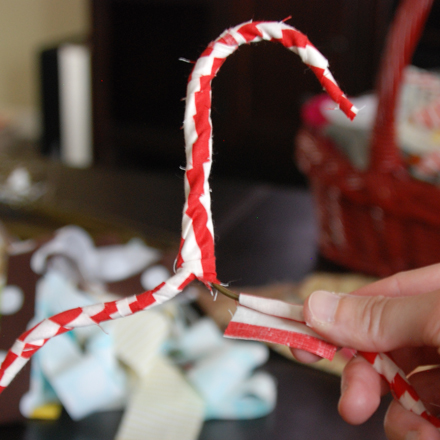
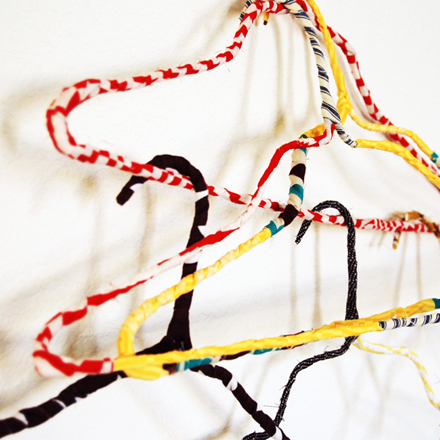
Well, the other day I realized that we didn’t have enough hangers in the house! How could this be?! We actually haven’t been shopping in a while. I saw the box of dreadful, uncoated, hangers and thought, “I sure wish I knew how to crochet around the hangers like grandma used to.” Then the light bulb… why don’t I use all of those fabric scraps and wrap them?!?! To my amazement, they came out scrappy and lovely, so I thought I’d share just how easy it was with just a few supplies.
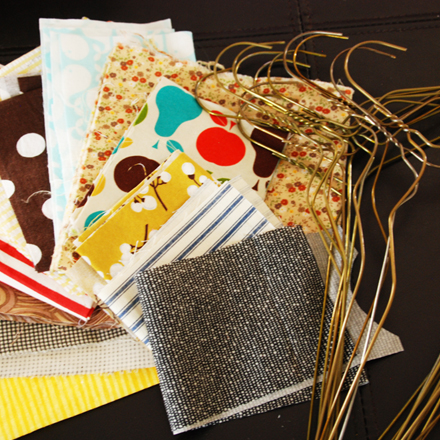
• Wire hangers
• Fabric scraps (cut about 1 in wide and however long you want)
• Scissors
• Hot Glue gun and glue sticks
Once you have all of your supplies, simply cut your scraps into roughly 1 inch thick strips. You can use your rotor blade and cut mat to cut them evenly, but I cut mine by hand. I didn’t see a need for them to be perfectly straight and it adds character.
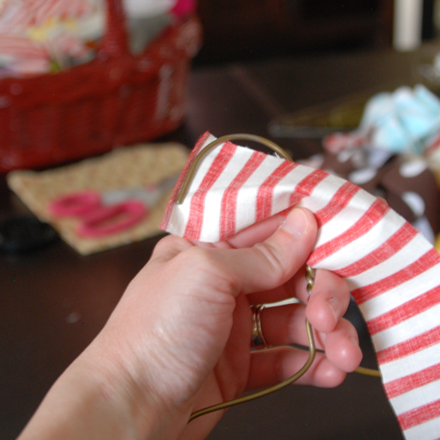
Then place a strip of hot glue along the tip of the hook and attach the end of your first strip of fabric.
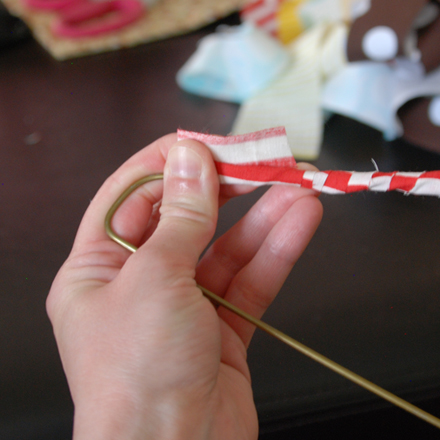
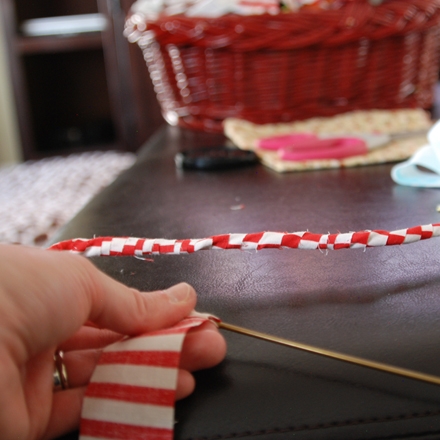
Then you begin to wrap the fabric around the hanger, applying glue every 5-7 inches. Keep the fabric tight, but not too tight.
Secure the tail end with some glue and you’re done!
Some of my scraps were shorter than others, so I just added then on where the last one left off and so on. Then, if I didn’t have enough of one pattern to complete a full hanger, I just mixed and matched! I found that the smaller your print or pattern, the better they look.
Bonus: The fabric is great for your little strappy dresses and tanks that never stay on the smooth hangers (the ones without the hooks, anyway). So, not only are you reusing and saving the environment, you get to pretty up your closet with very functional style!
I hope you get a chance to try this, and if you do, let me know how it all turns out! ♥rl
13
Apr, 11{humpday tutorial} Drawer Re-purpose
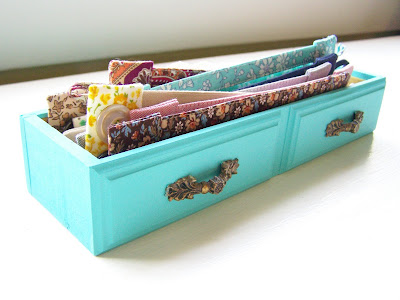
Okay, so this is not necessarily a how-to step-by-step tutorial, but I just had to share! It’s such an easy and great idea, you don’t need step-by-step directions. Amy over at Ponder and Stitch went to the Thrift Store and found some old lonely drawers and re-purposed them into pretty display boxes! I just love this idea so much. Be sure to check out Amy and the rest of her Blog Post.
06
Jan, 10Humpday Tutorial {Recycle: Yarn Gift Tag}
Isn’t this such a cute idea?! A Little Hut was kind enough to share a great tutorial with beautiful images so you can do this at home! I think it’s a great way for you to recycle and show off your creative skills all at once. The best part, is that a beginner or an expert can enjoy doing this project. Hey, it would be great for the kids! This is not just for the Holidays either, you can change the colors and even use ribbon for Birthday, anniversary, wedding, and baby shower gifts! Check out the full tutorial here.
Image via A Little Hut
15
Sep, 09Cloth Diaper Laundry Service | Eco-Baby in Colorado
My husband was telling me that a friend of ours here in Colorado uses Eco-Baby Cloth Diaper Service for all of their diaper needs. Before him telling me, I had never heard of such a service, but I’m in love with the idea! Not only are you reducing waste in landfills, but you are guaranteed that your diapers are washed thoroughly and disinfected. Best of all, you don’t actually have to do anything. Pretty sweet deal! You can even set up a registry with them.
05
Aug, 09Humpday Tutorial | Quilted Notecards With Made

- Note cards or Card stock
- Scrap Fabric and thread
- Sewing machine
- Scissors for trimming
Be sure to visit Made for the complete tutorial!
03
Aug, 09Helpful Tips For You
Next time you’re at the grocery store, take a list and grab a basket instead of a cart. You’ll buy less, avoid impulse buys, spend less, and burn more calories!
- Don’t toss the sterile cotton from the tops of vitamin or pill bottles – save it for cosmetics or first aid, and that’s one less purchase to make.
- Save all of the paper packaging that comes your way that can be used one more time before recycling. Put it all in a central location so you can find what you need later. Bubble wrap, corrugated cardboard, gift bags, cardboard from shirts and tights, tissue paper, etc. can all be used again for gift wrapping or arts and crafts time with the kids!
- Save paper by shrinking your margins to fit more words per page.
All of these tips are from Page-A-Day Calendar: www.pageaday.com and the image is from http://gopalshenoy.files.wordpress.com
30
Jul, 09“Pop” Top Purse | Evnvironmental A-Wear-Ness
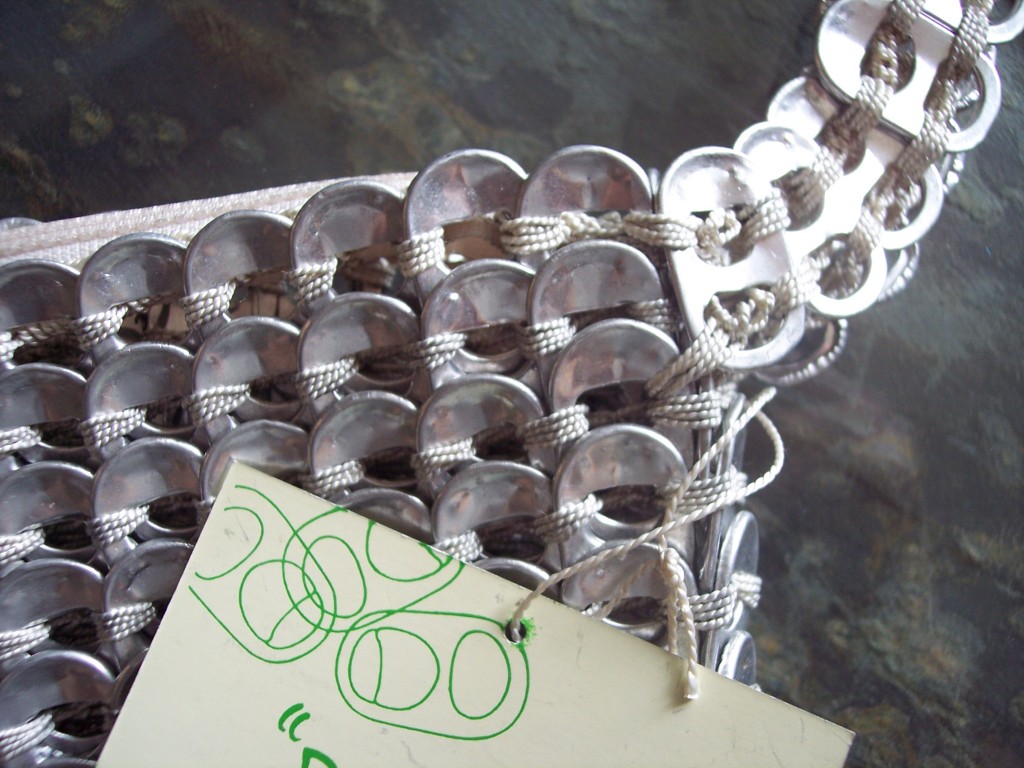
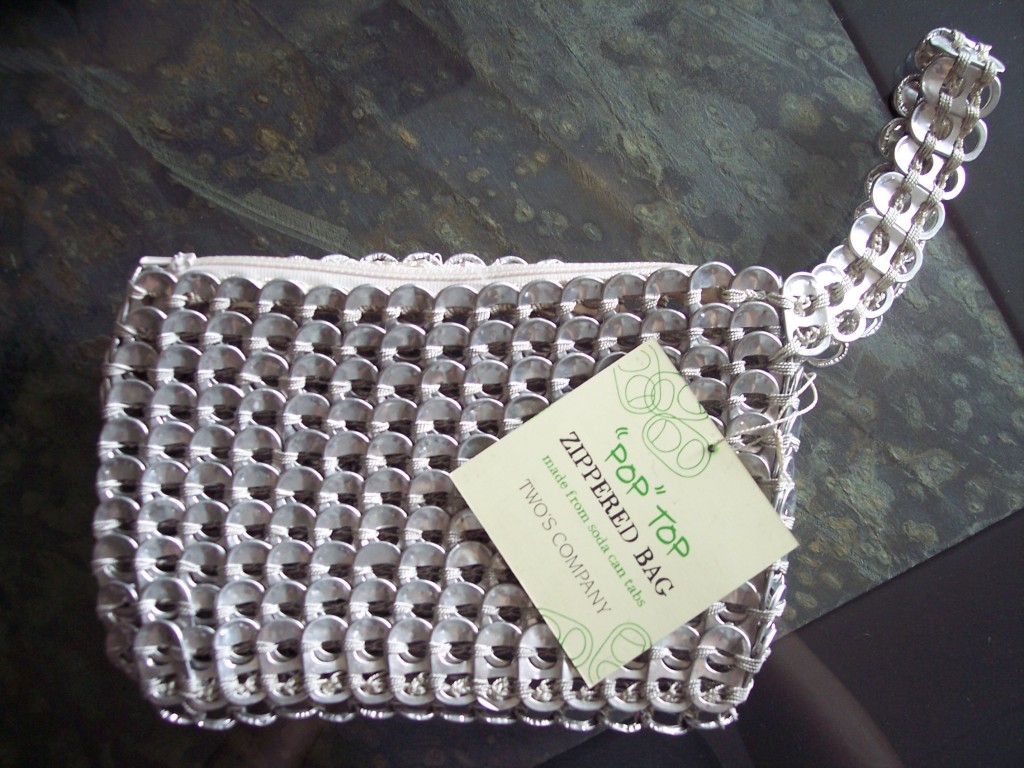
“Keep tabs on the environment while making a statement with this eye-catching conversation piece. Artfully hand crocheted using nylon thread and soda pull-tabs, this stylish ‘eco-chic’ product takes recycling to the next level by raising the awareness of environmental preservation. With the purchase of each bag, we will make a donation to an eco-friendly organization. Spot clean only. Wipe with a cloth.”
28
Jul, 09Did You Know? | Earth Day

– Anthropologist Margaret Mead, 1977

